
The continuing journey of trying to get this chine collé print to work. After troubleshooting my problems with my printmaking professor, I was ready to tackle this challenge again last Thursday.
I cut 2 pieces of mulberry paper to run through the laser printer. The first was a thicker cream color paper and the 2nd was the same thin white paper I had used on my previous attempts. When I ran the cream colored paper through the printer, the flowers printed quite dark. I’m not sure if that was because of the paper color or because I had switched a setting in Color Mgmt in Photoshop for that print. I reset the setting back to what I had previously used when I printed again on the white paper and the flowers were bright again. So until I decide to print again on the cream paper, I won’t know for sure what caused the darkened flowers. I was more concerned with getting the glue issue figured out so I didn’t worry about it at the time.
I got everything ready for printing and started with the cream color paper for the chine collé. I inked the plate, pulled the printmaking paper from water and had it ready between 2 towels, and then applied the wheat paste across back of mulberry paper. And here are the changes I made - I used a small plastic squeegee to lightly spread the glue evenly over the paper. And then I put a piece of plexi on top of the plate and papers on the press (and under the blankets) and ran it all through the press. Behold:
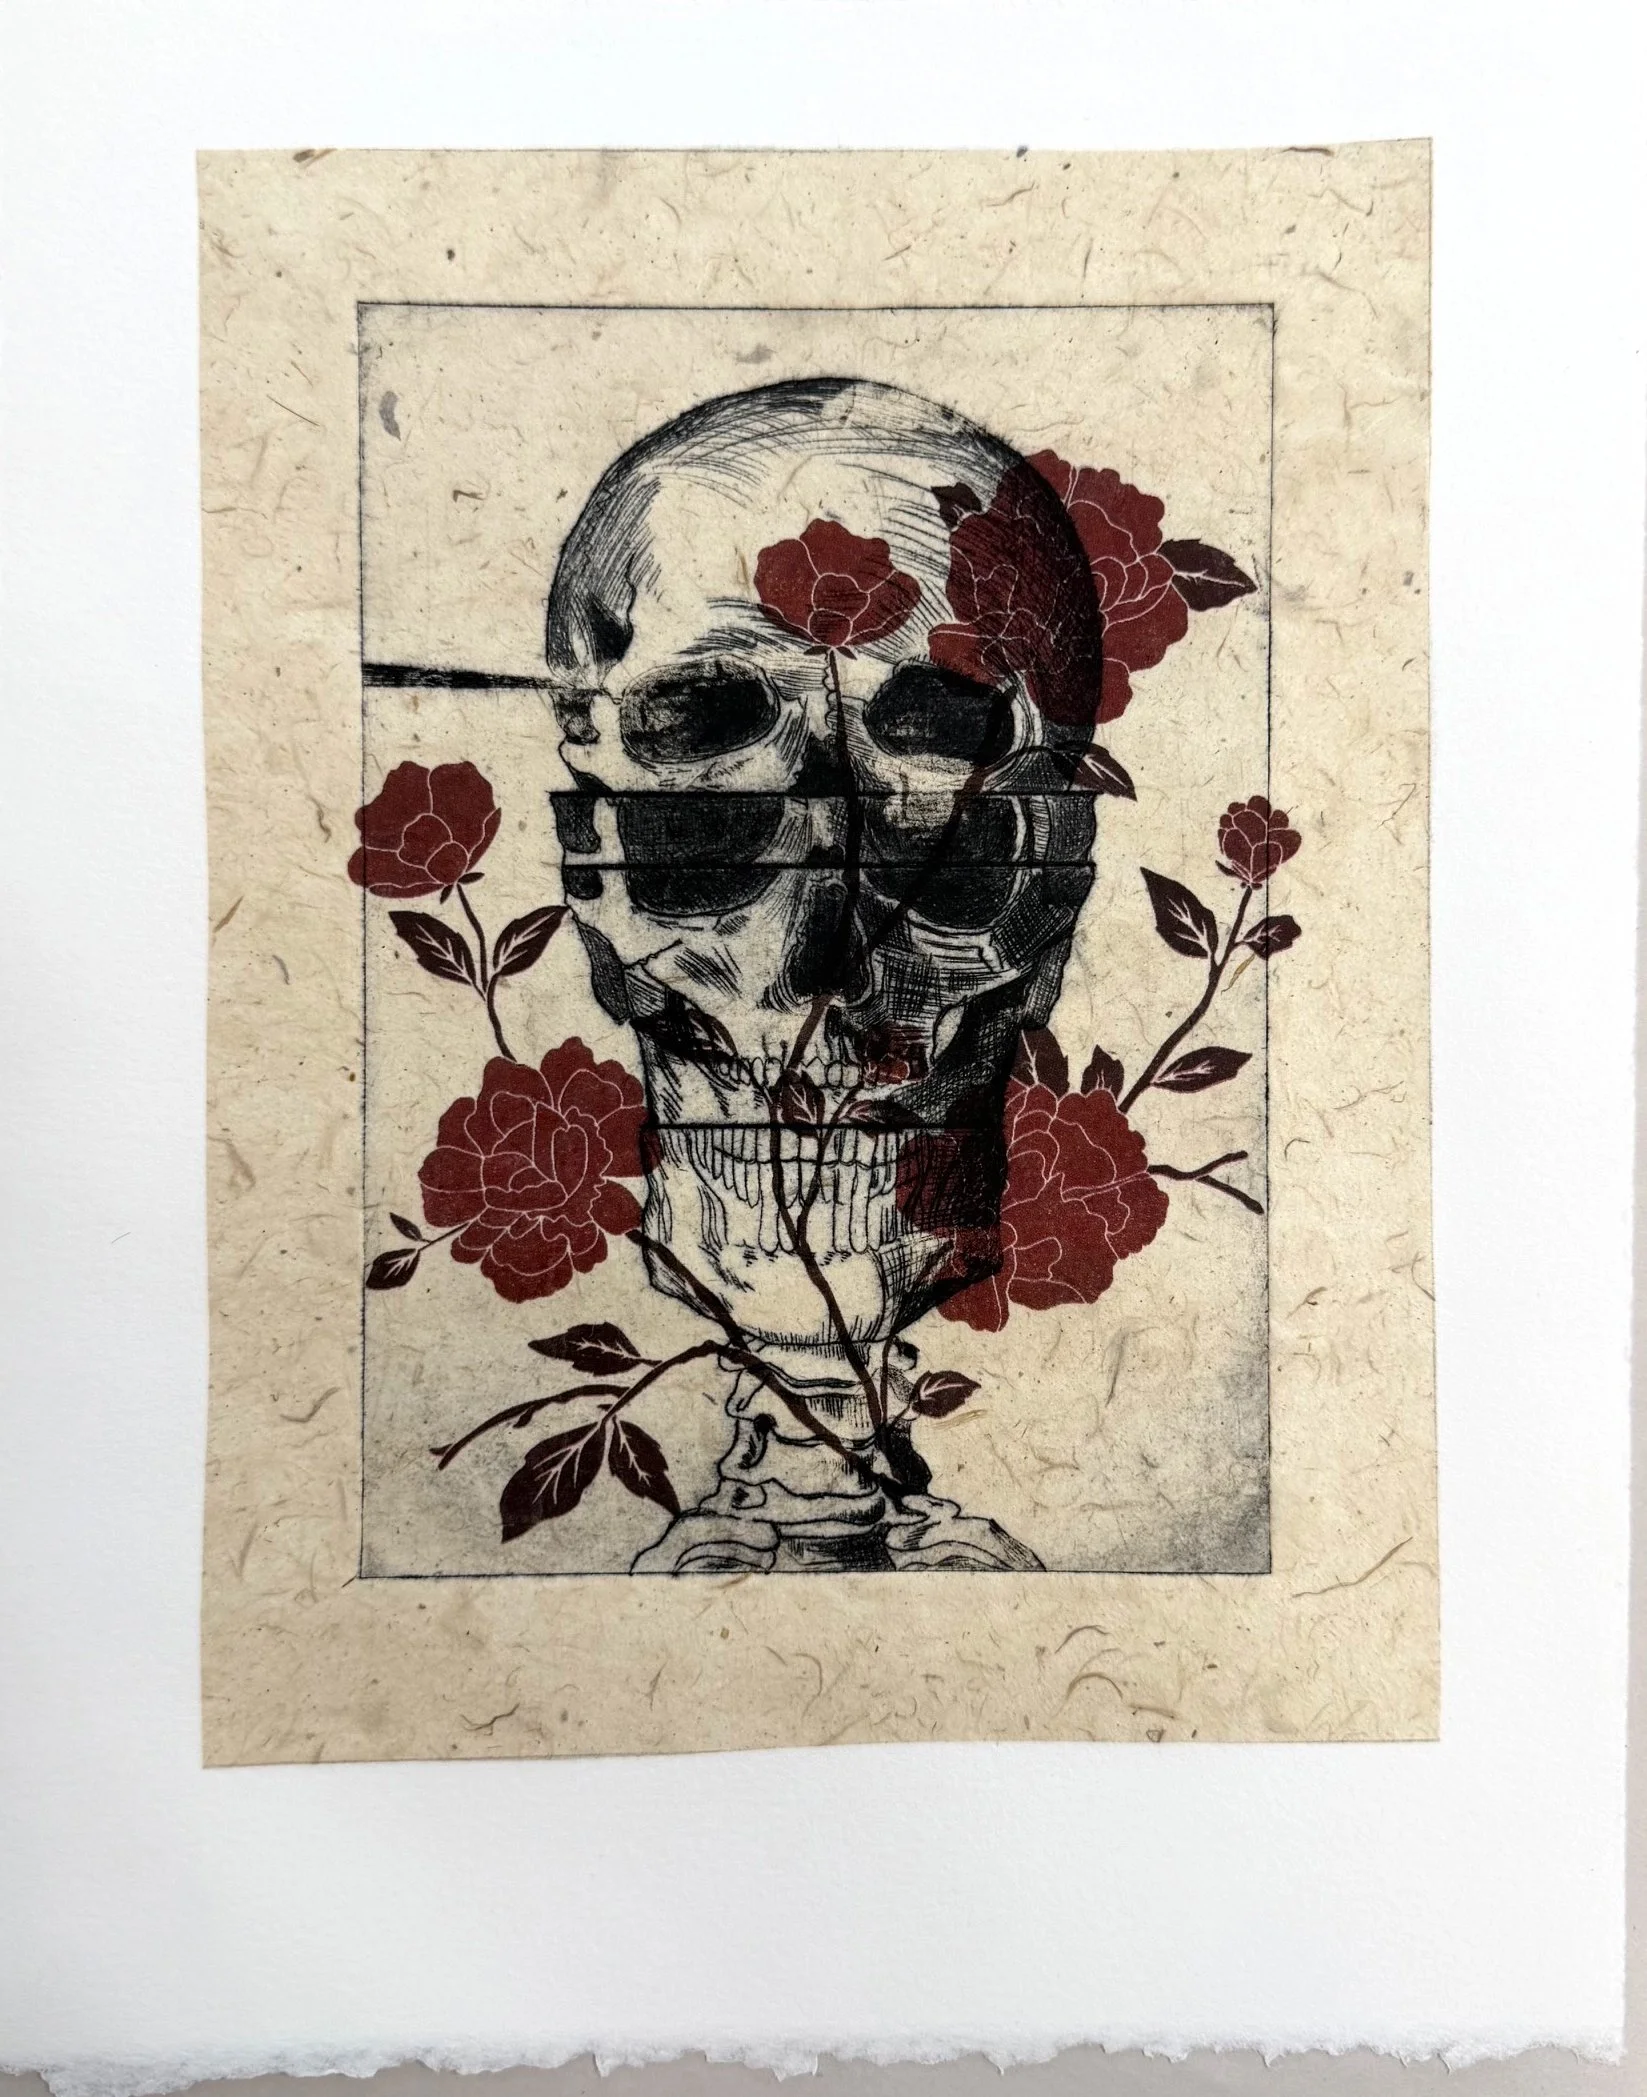
It worked perfectly!! Nick’s advice to spread the glue and use a piece of plexi on the press was the key! I was so happy that I immediatly got to work on the second print with the white mulberry paper. And I did everything the exact same way. Did it work?
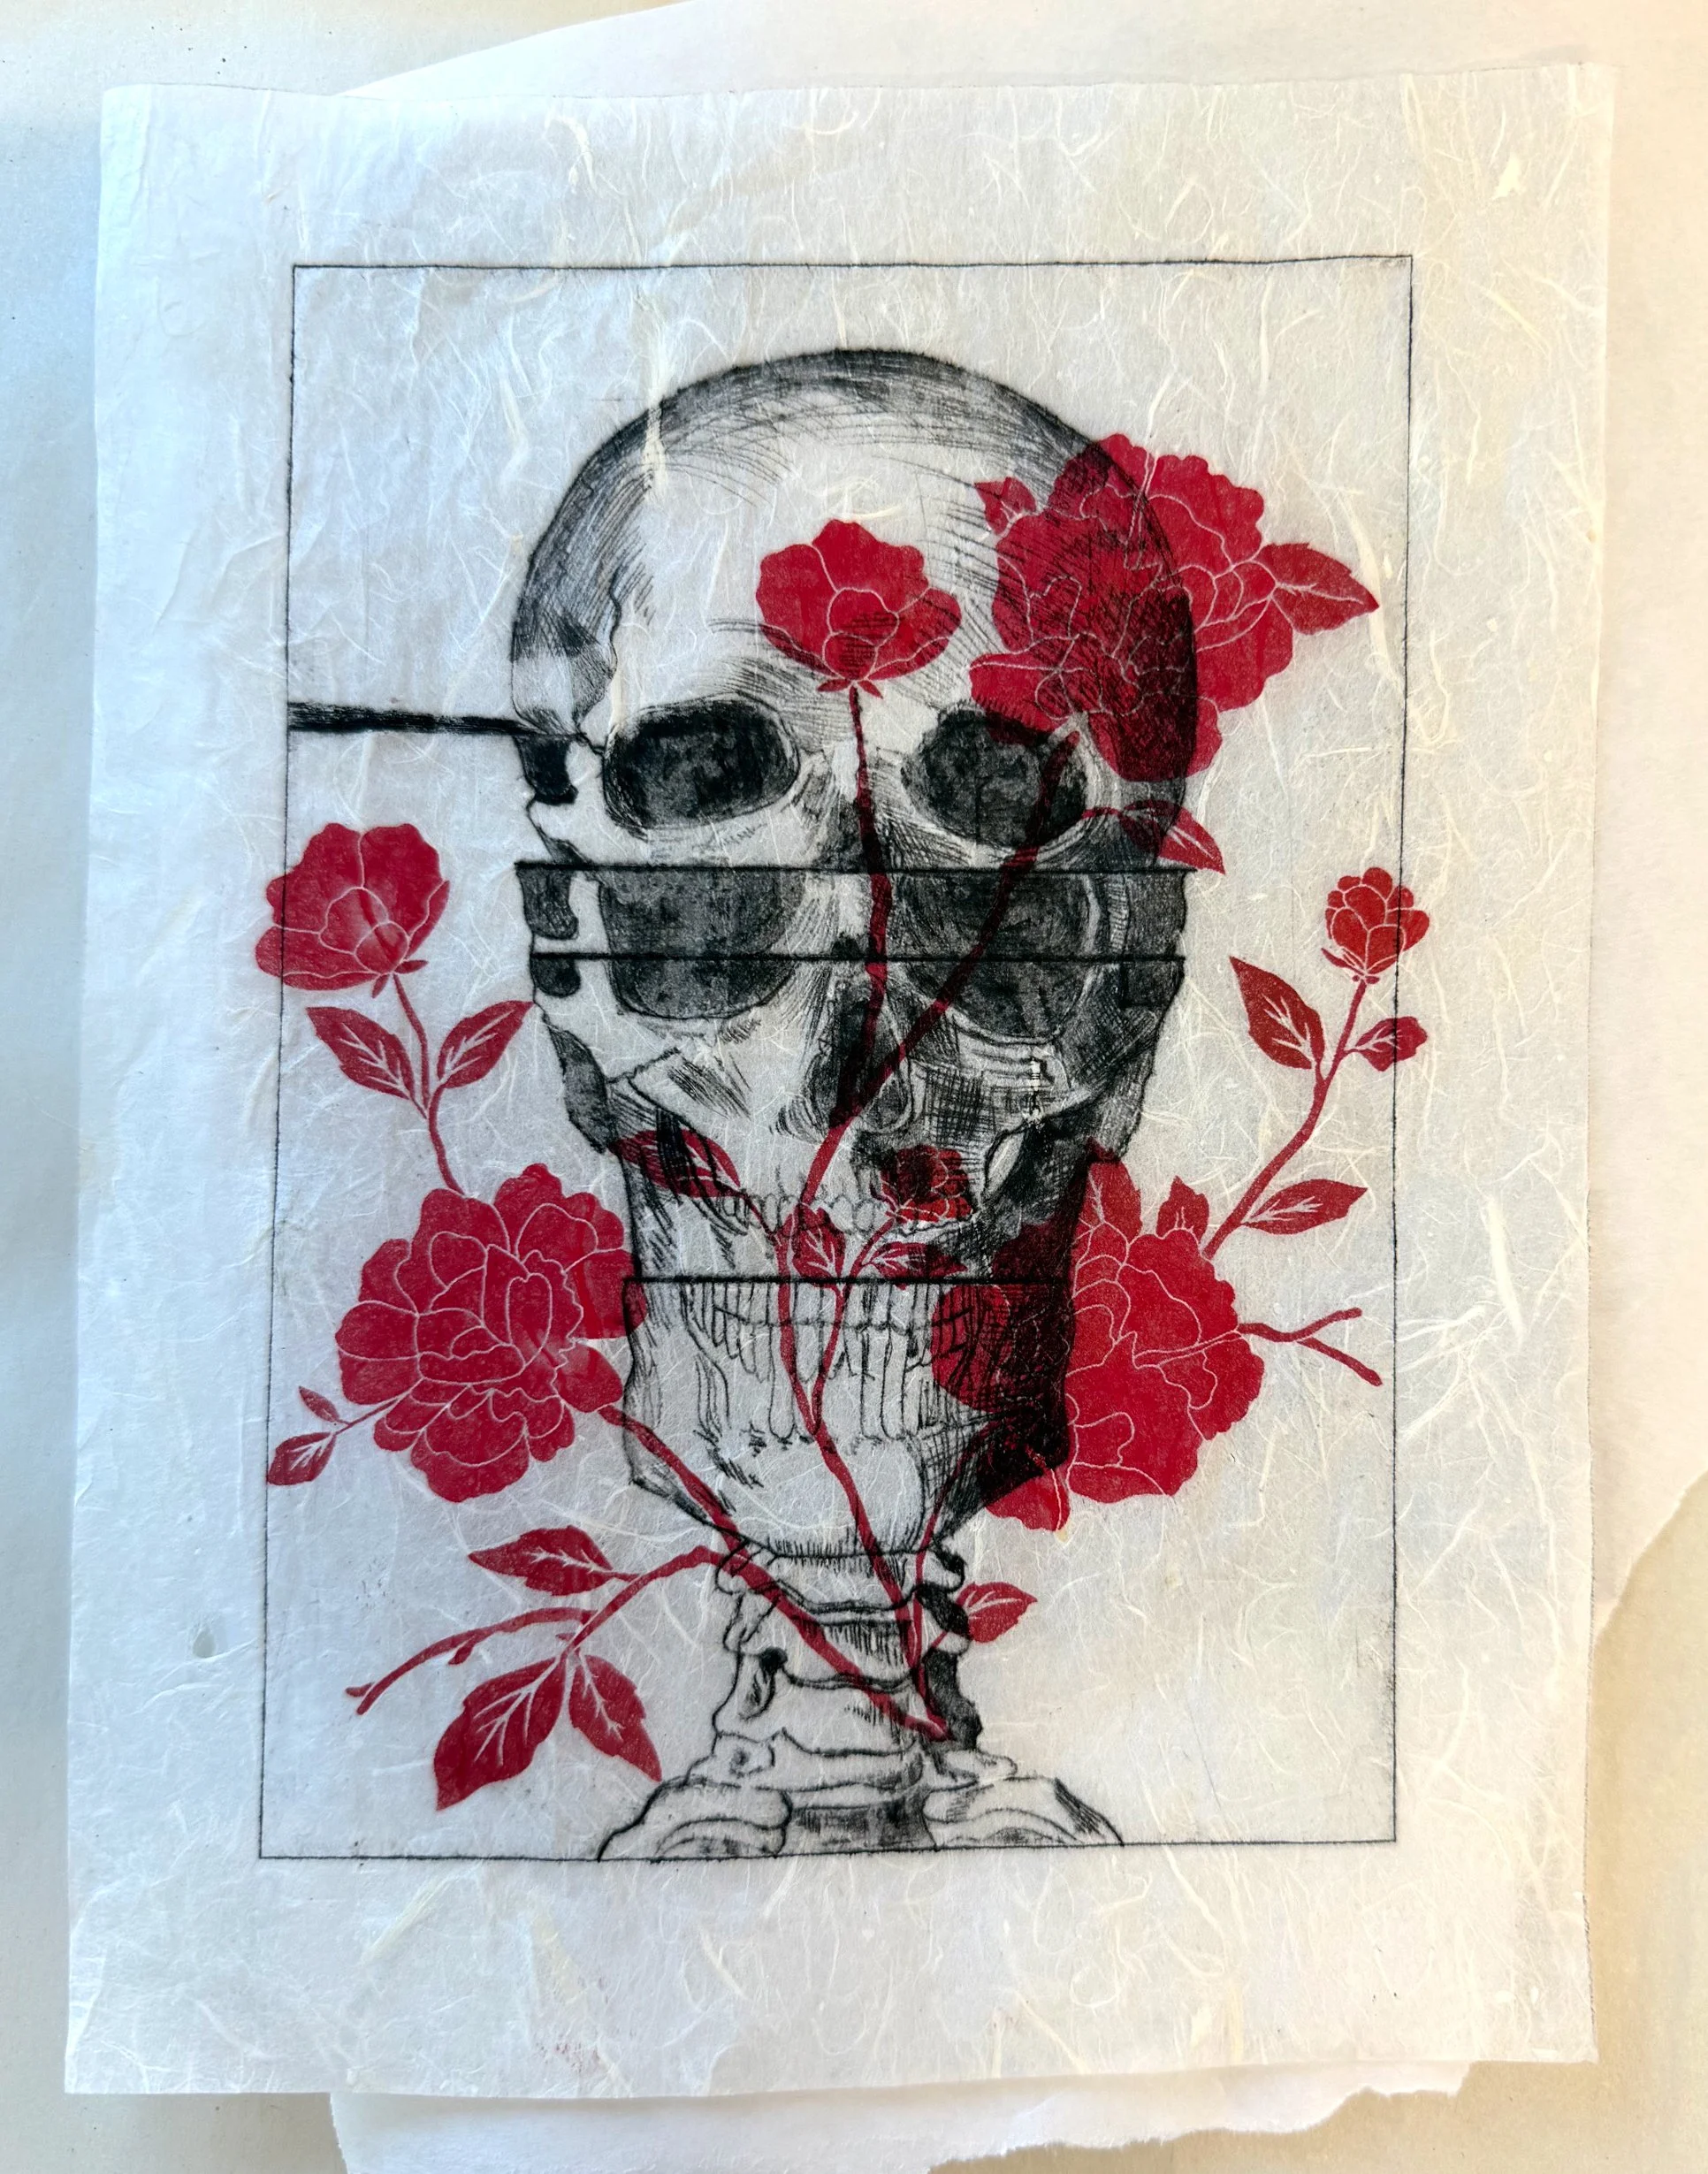
It did not.
Here you see a beautifully printed image on a piece mulberry paper that did not stick to the printmaking paper at all. At first I was confused* - why didn’t it work? I did everything exactly the same as the first print. This makes no sense! But then it did make sense. This paper is so much thinner than the cream paper. When I spread the glue across the back, it basically soaked through the paper completely and I had a hard time lifting it and placing it on the plate on the press bed. And this is were the real issue is - the mulberry paper is larger that the actual drypoint plate (because that is how the flowers fit the image and I like that they break that plane) so that wet gluey paper had a 1 inch border around the plate that was laying directly on the press bed. And that is where is stayed even though that nice damp printmaking paper was on top of it saying please stick with me! okay, that got weird. But there it is, the thin mulberry paper stuck to the press because the glue had totally soaked through to the front unlike the thicker cream paper. Mystery solved. Going forward, thin papers for chine collé need to be equal to or less than the size of the plate.
Now, I could just re-glue the mulberry paper to the printmaking paper, but look at what printed through the mulberry paper!
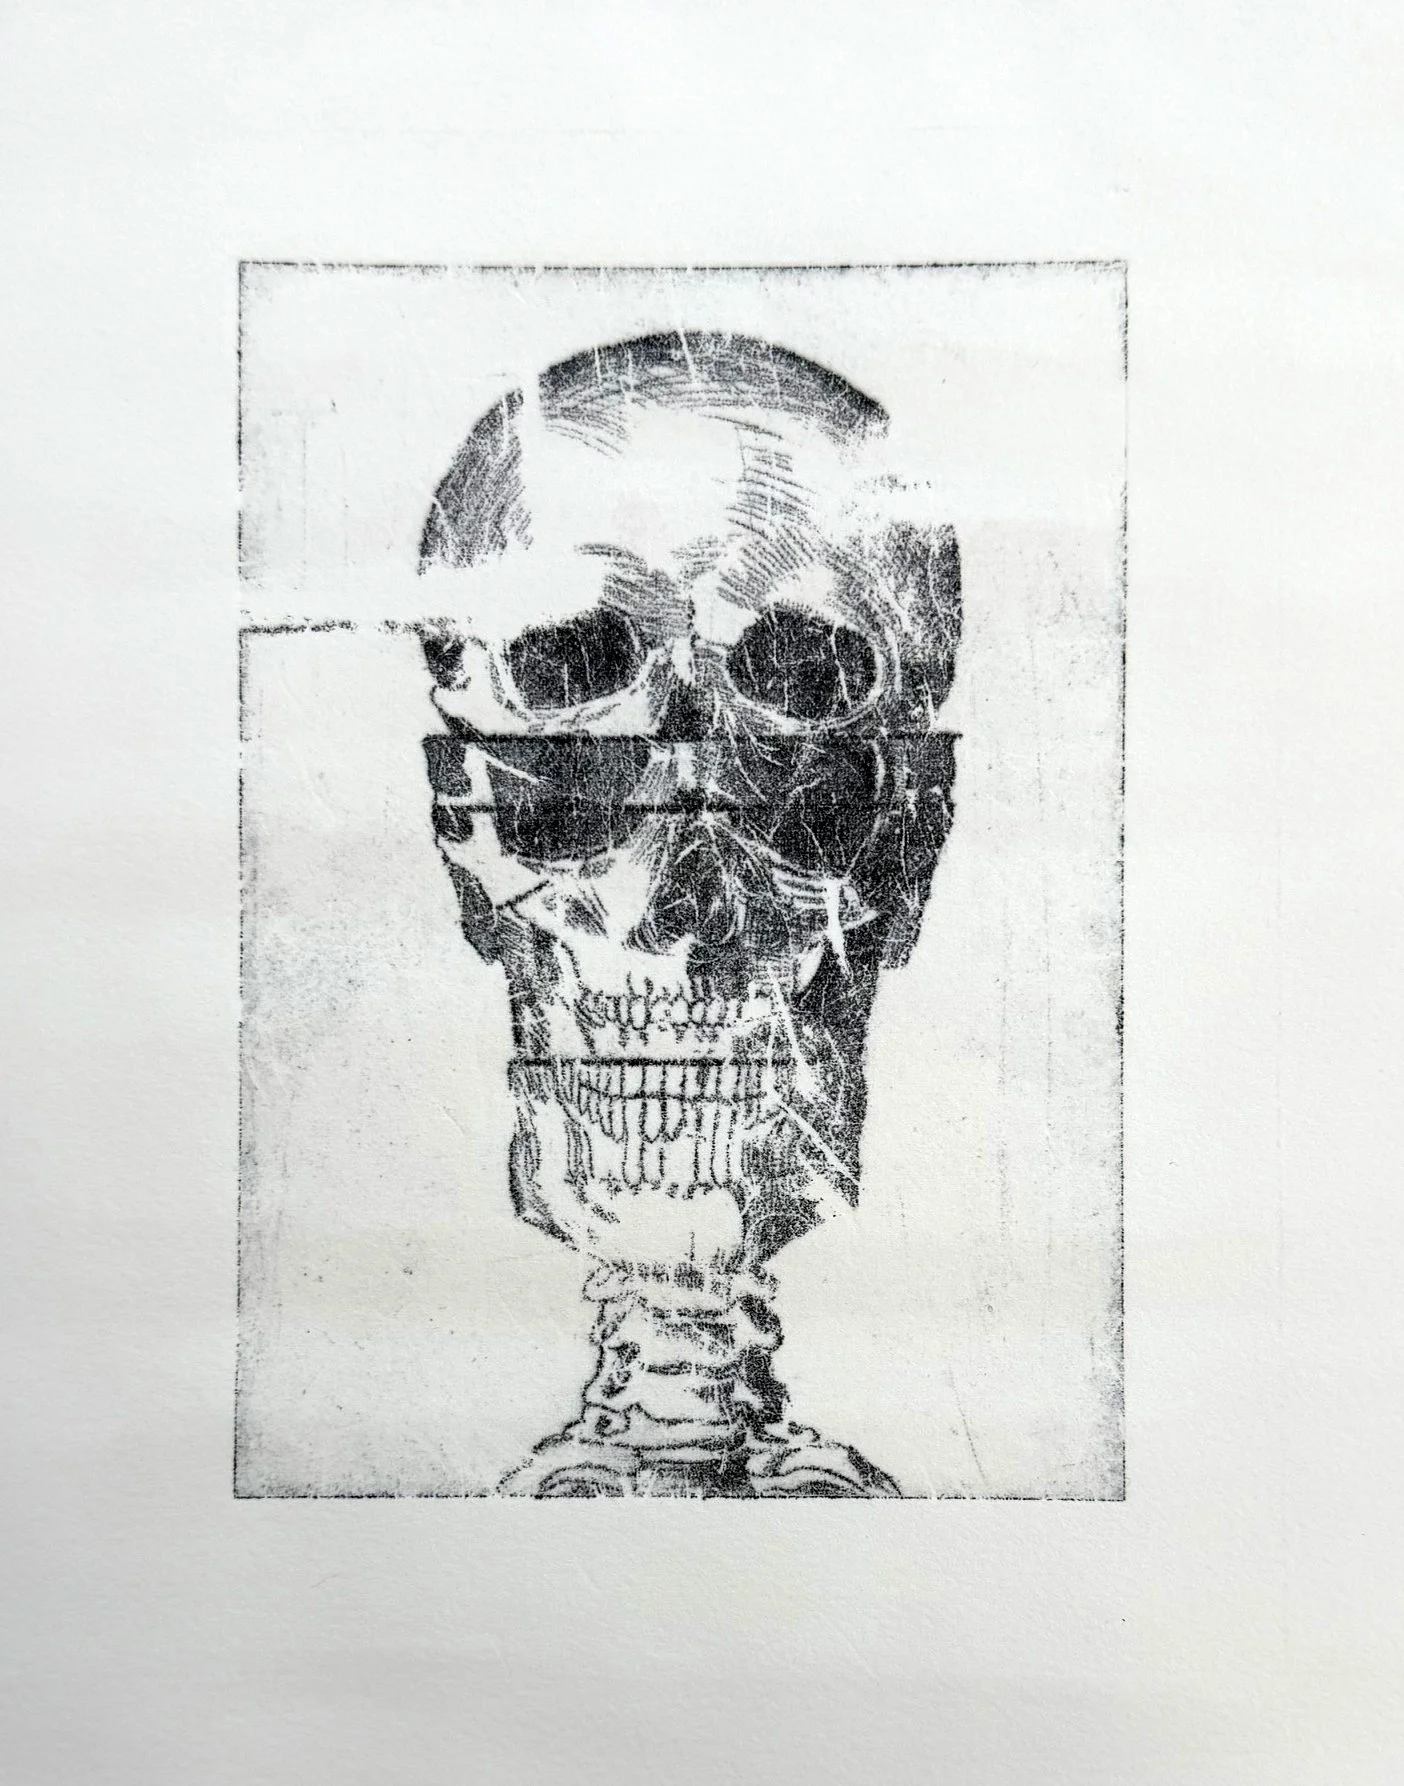
Yeah, I’m not covering that up!
I’ve got some good prints and learned a lot along the way - perfect 2 part episode ending. Stay tuned for Adventures in Screenprinting.
Quisque iaculis facilisis lacinia. Mauris euismod pellentesque tellus sit amet mollis.