Get a Lode of this

 
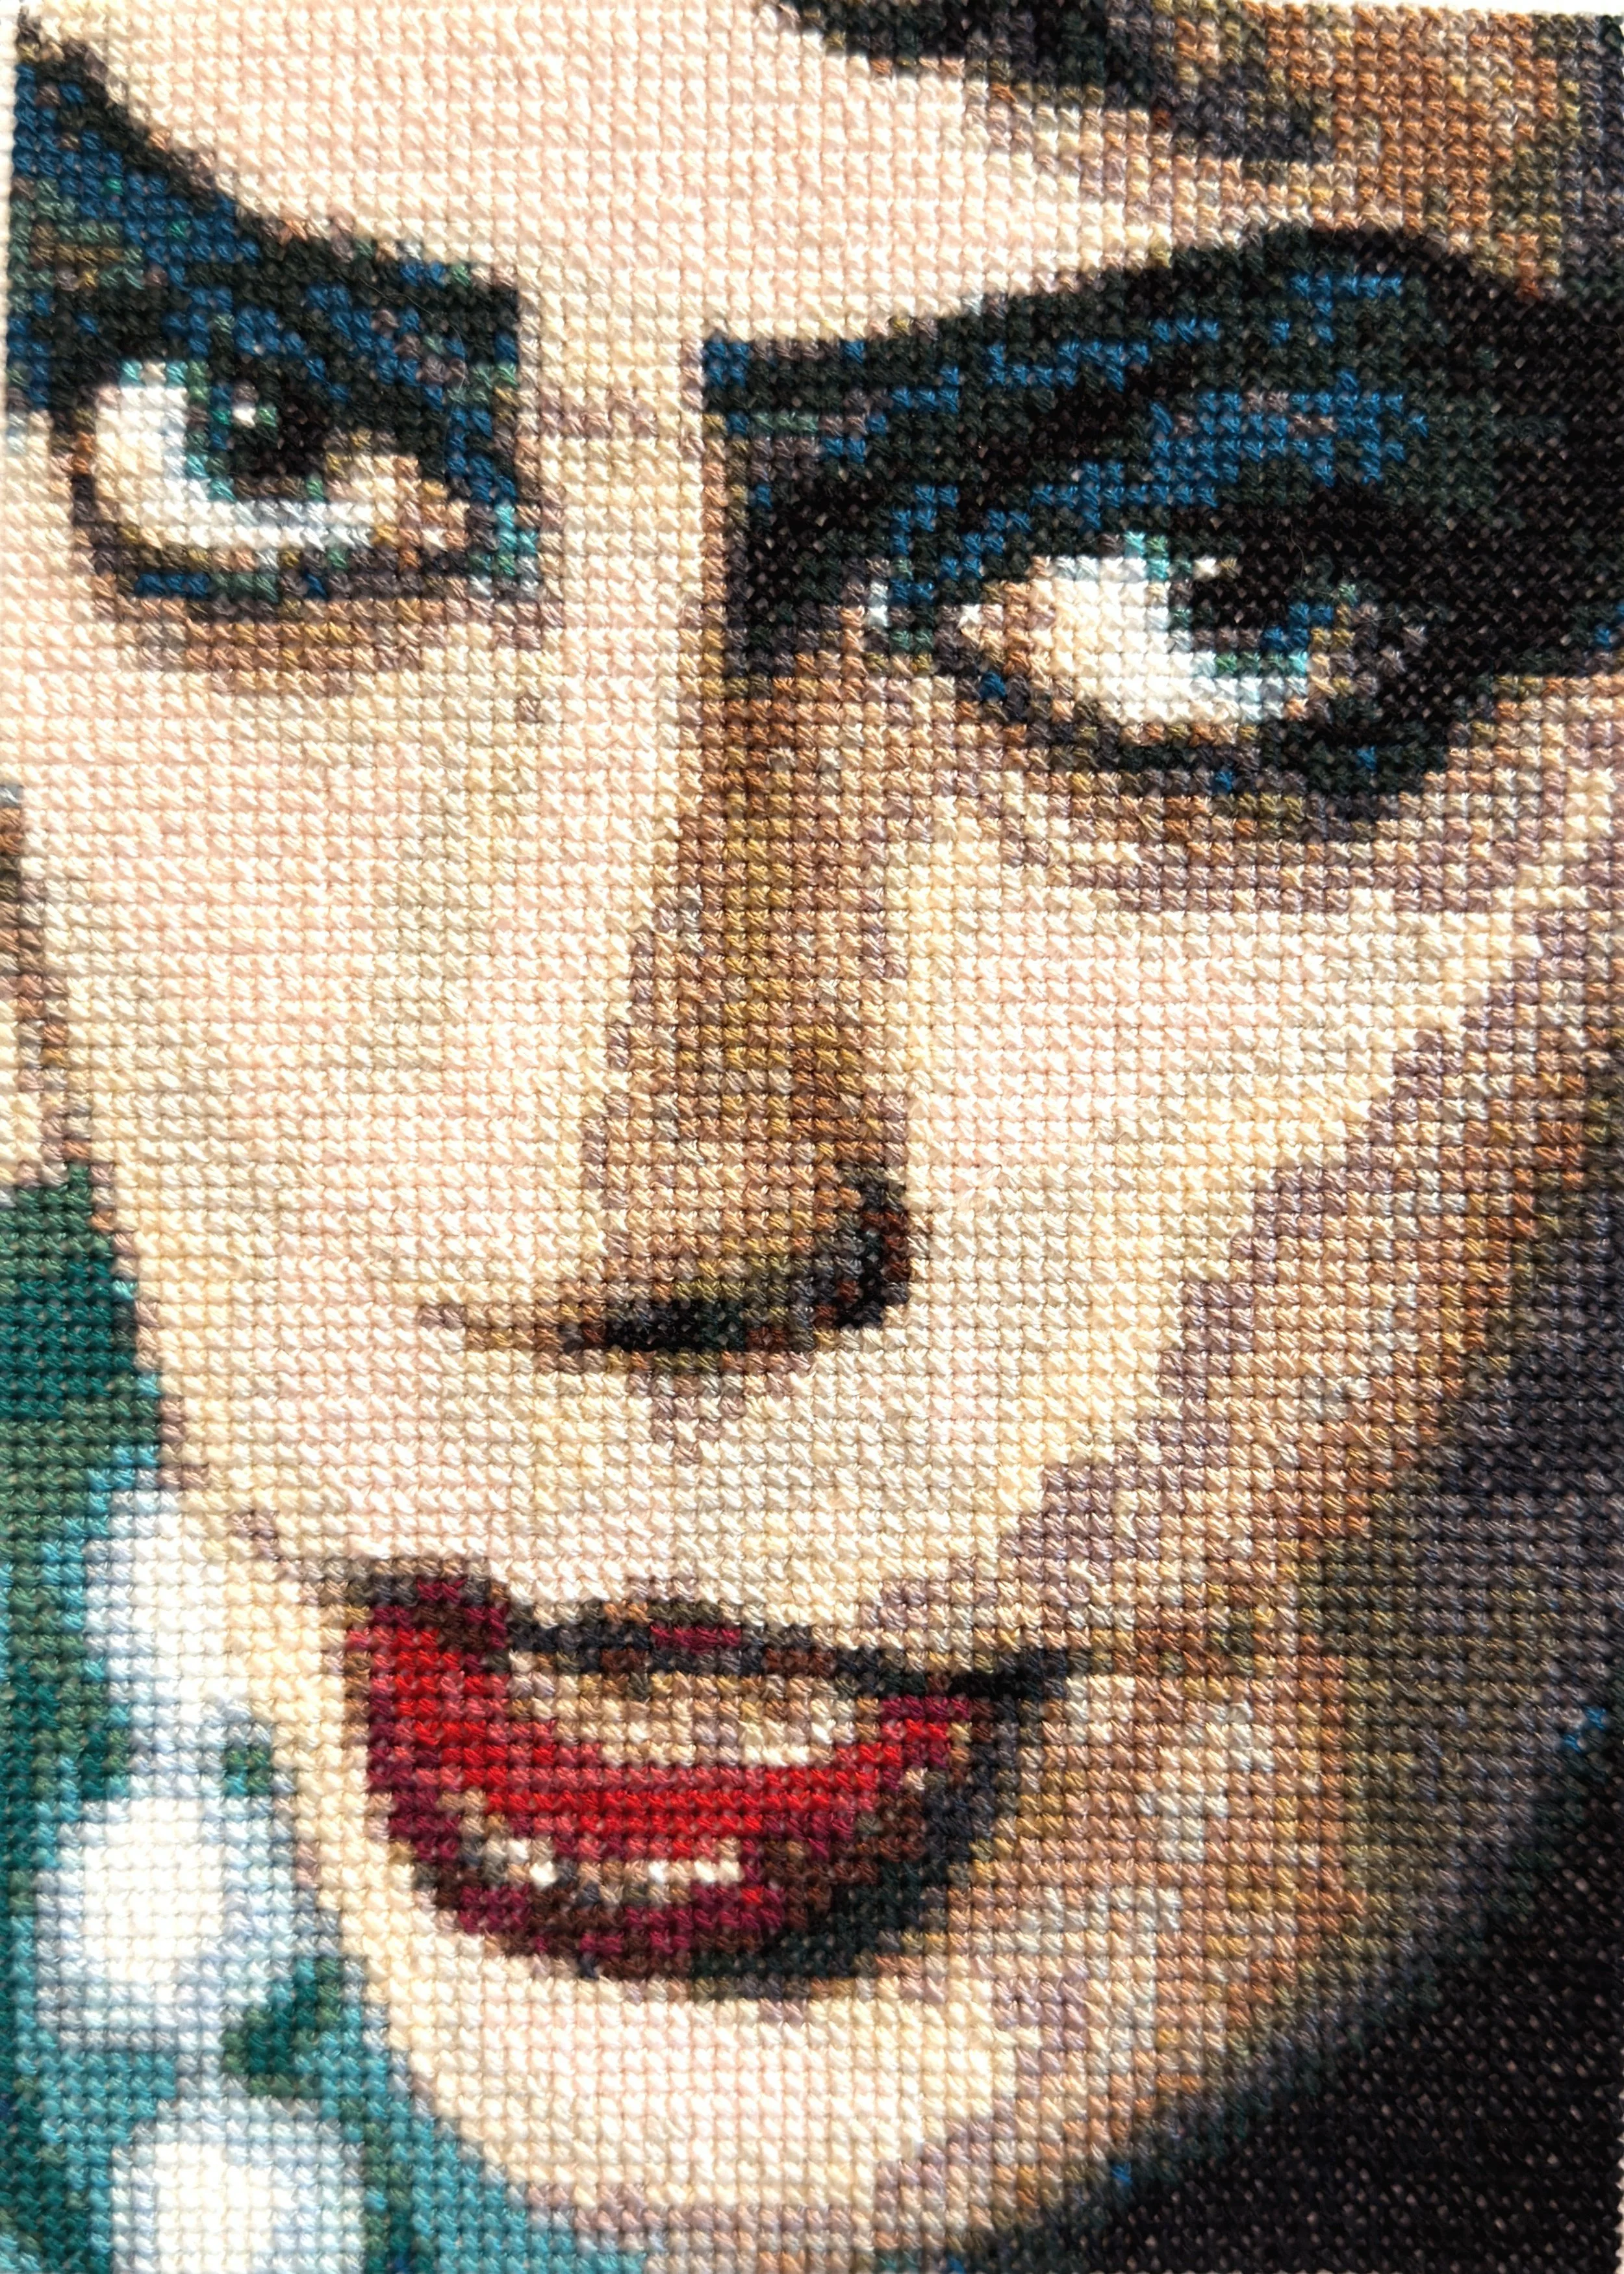
Cross-stitch close-up of Tim Curry's face as Dr Frank-n-Furter in The Rocky Horrow Picture Show
 

My cross-stitch piece Dr. Frank-n-Furter has been accepted to the Placerville Arts Association's 60th National Mother Lode Art Exhibition!

“This long-running Placerville Arts Association exhibit has grown into one of the region’s most anticipated art shows. Now hosted at the MACC for the fifth consecutive year, this dynamic exhibit features artworks from across the United States. With an open theme that does not adhere to the show’s name, each exhibition is unique, shaped by the distinctive selections of the juror. This show is a must-see, offering a diverse array of classic and contemporary art that captures the creativity and talent of artist nationwide.”

60th National Mother Lode Art Exhibition

Nov. 5 thru 21, 2026

at The MACC
Mills Station Arts & Culture Center

10191 Mills Station Road
Rancho Cordova, CA

Gallery Hours: Thursday & Friday 2 pm - 7 pm and Saturday 11 am - 4 pm

Artist Reception is Friday, November 6th at 5pm. I hope to see you there!
As The Press Wheel Turns

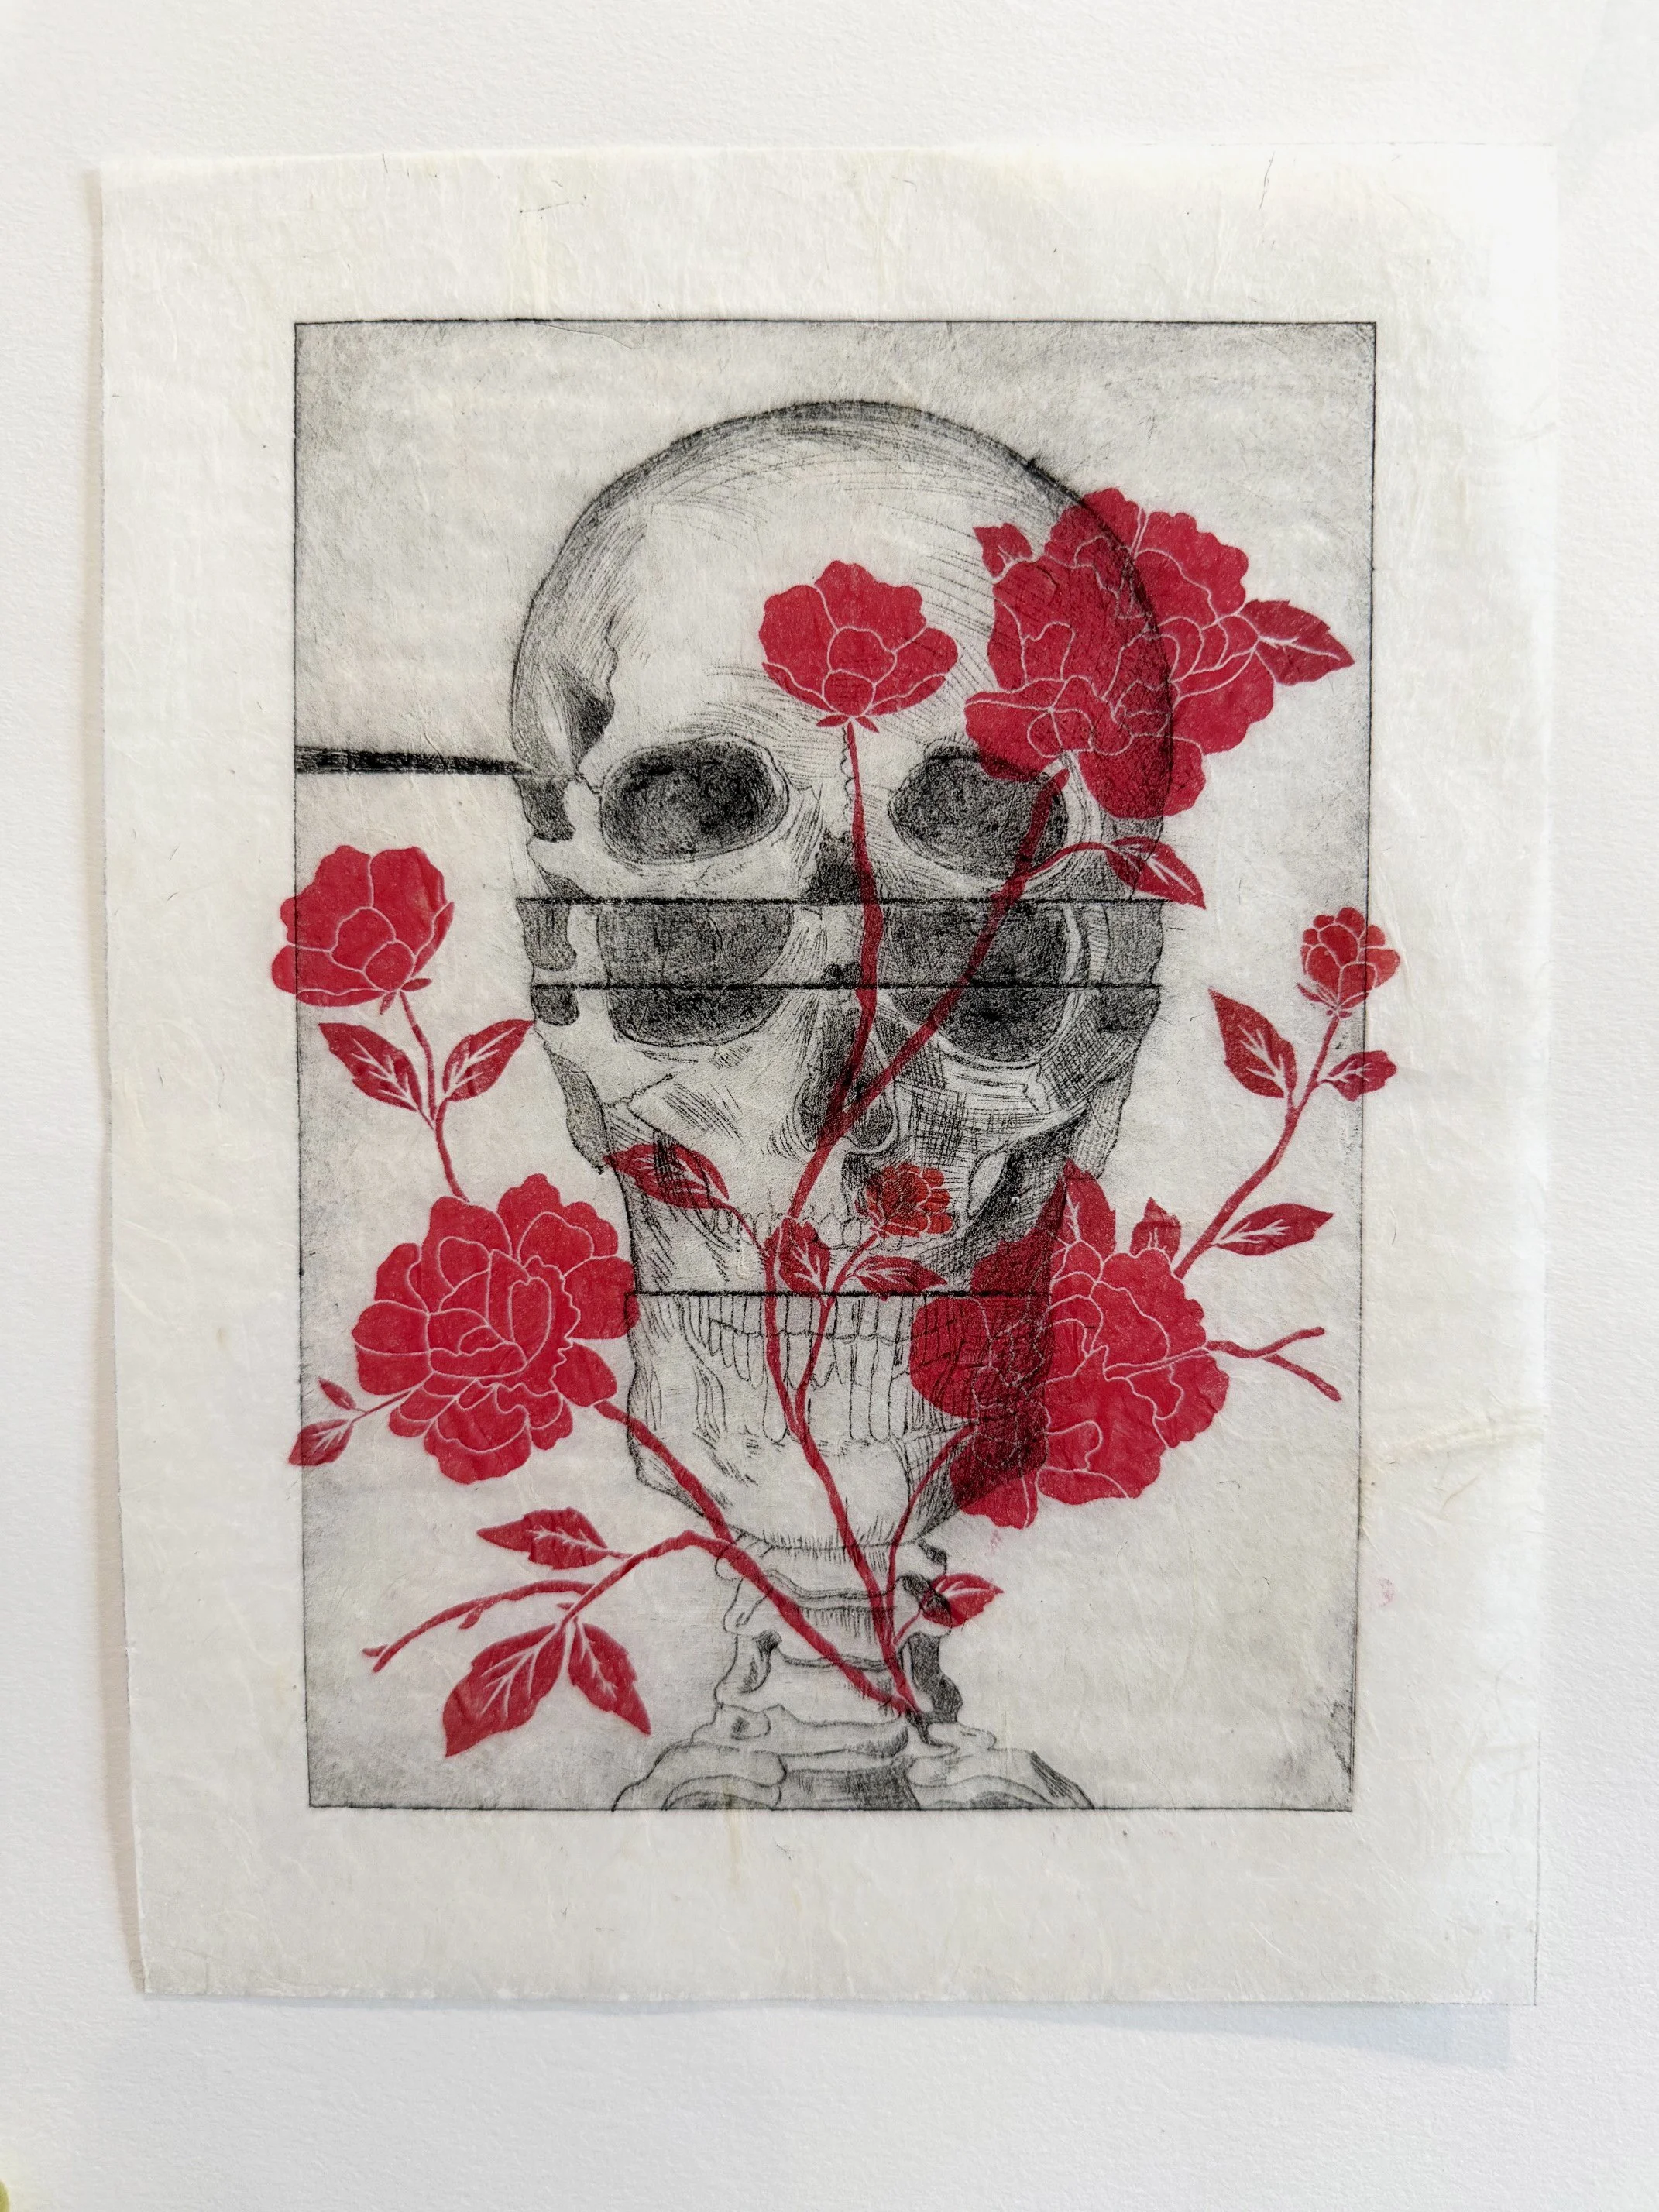
The continuing journey of trying to get this chine collé print to work. After troubleshooting my problems with my printmaking professor, I was ready to tackle this challenge again last Thursday.

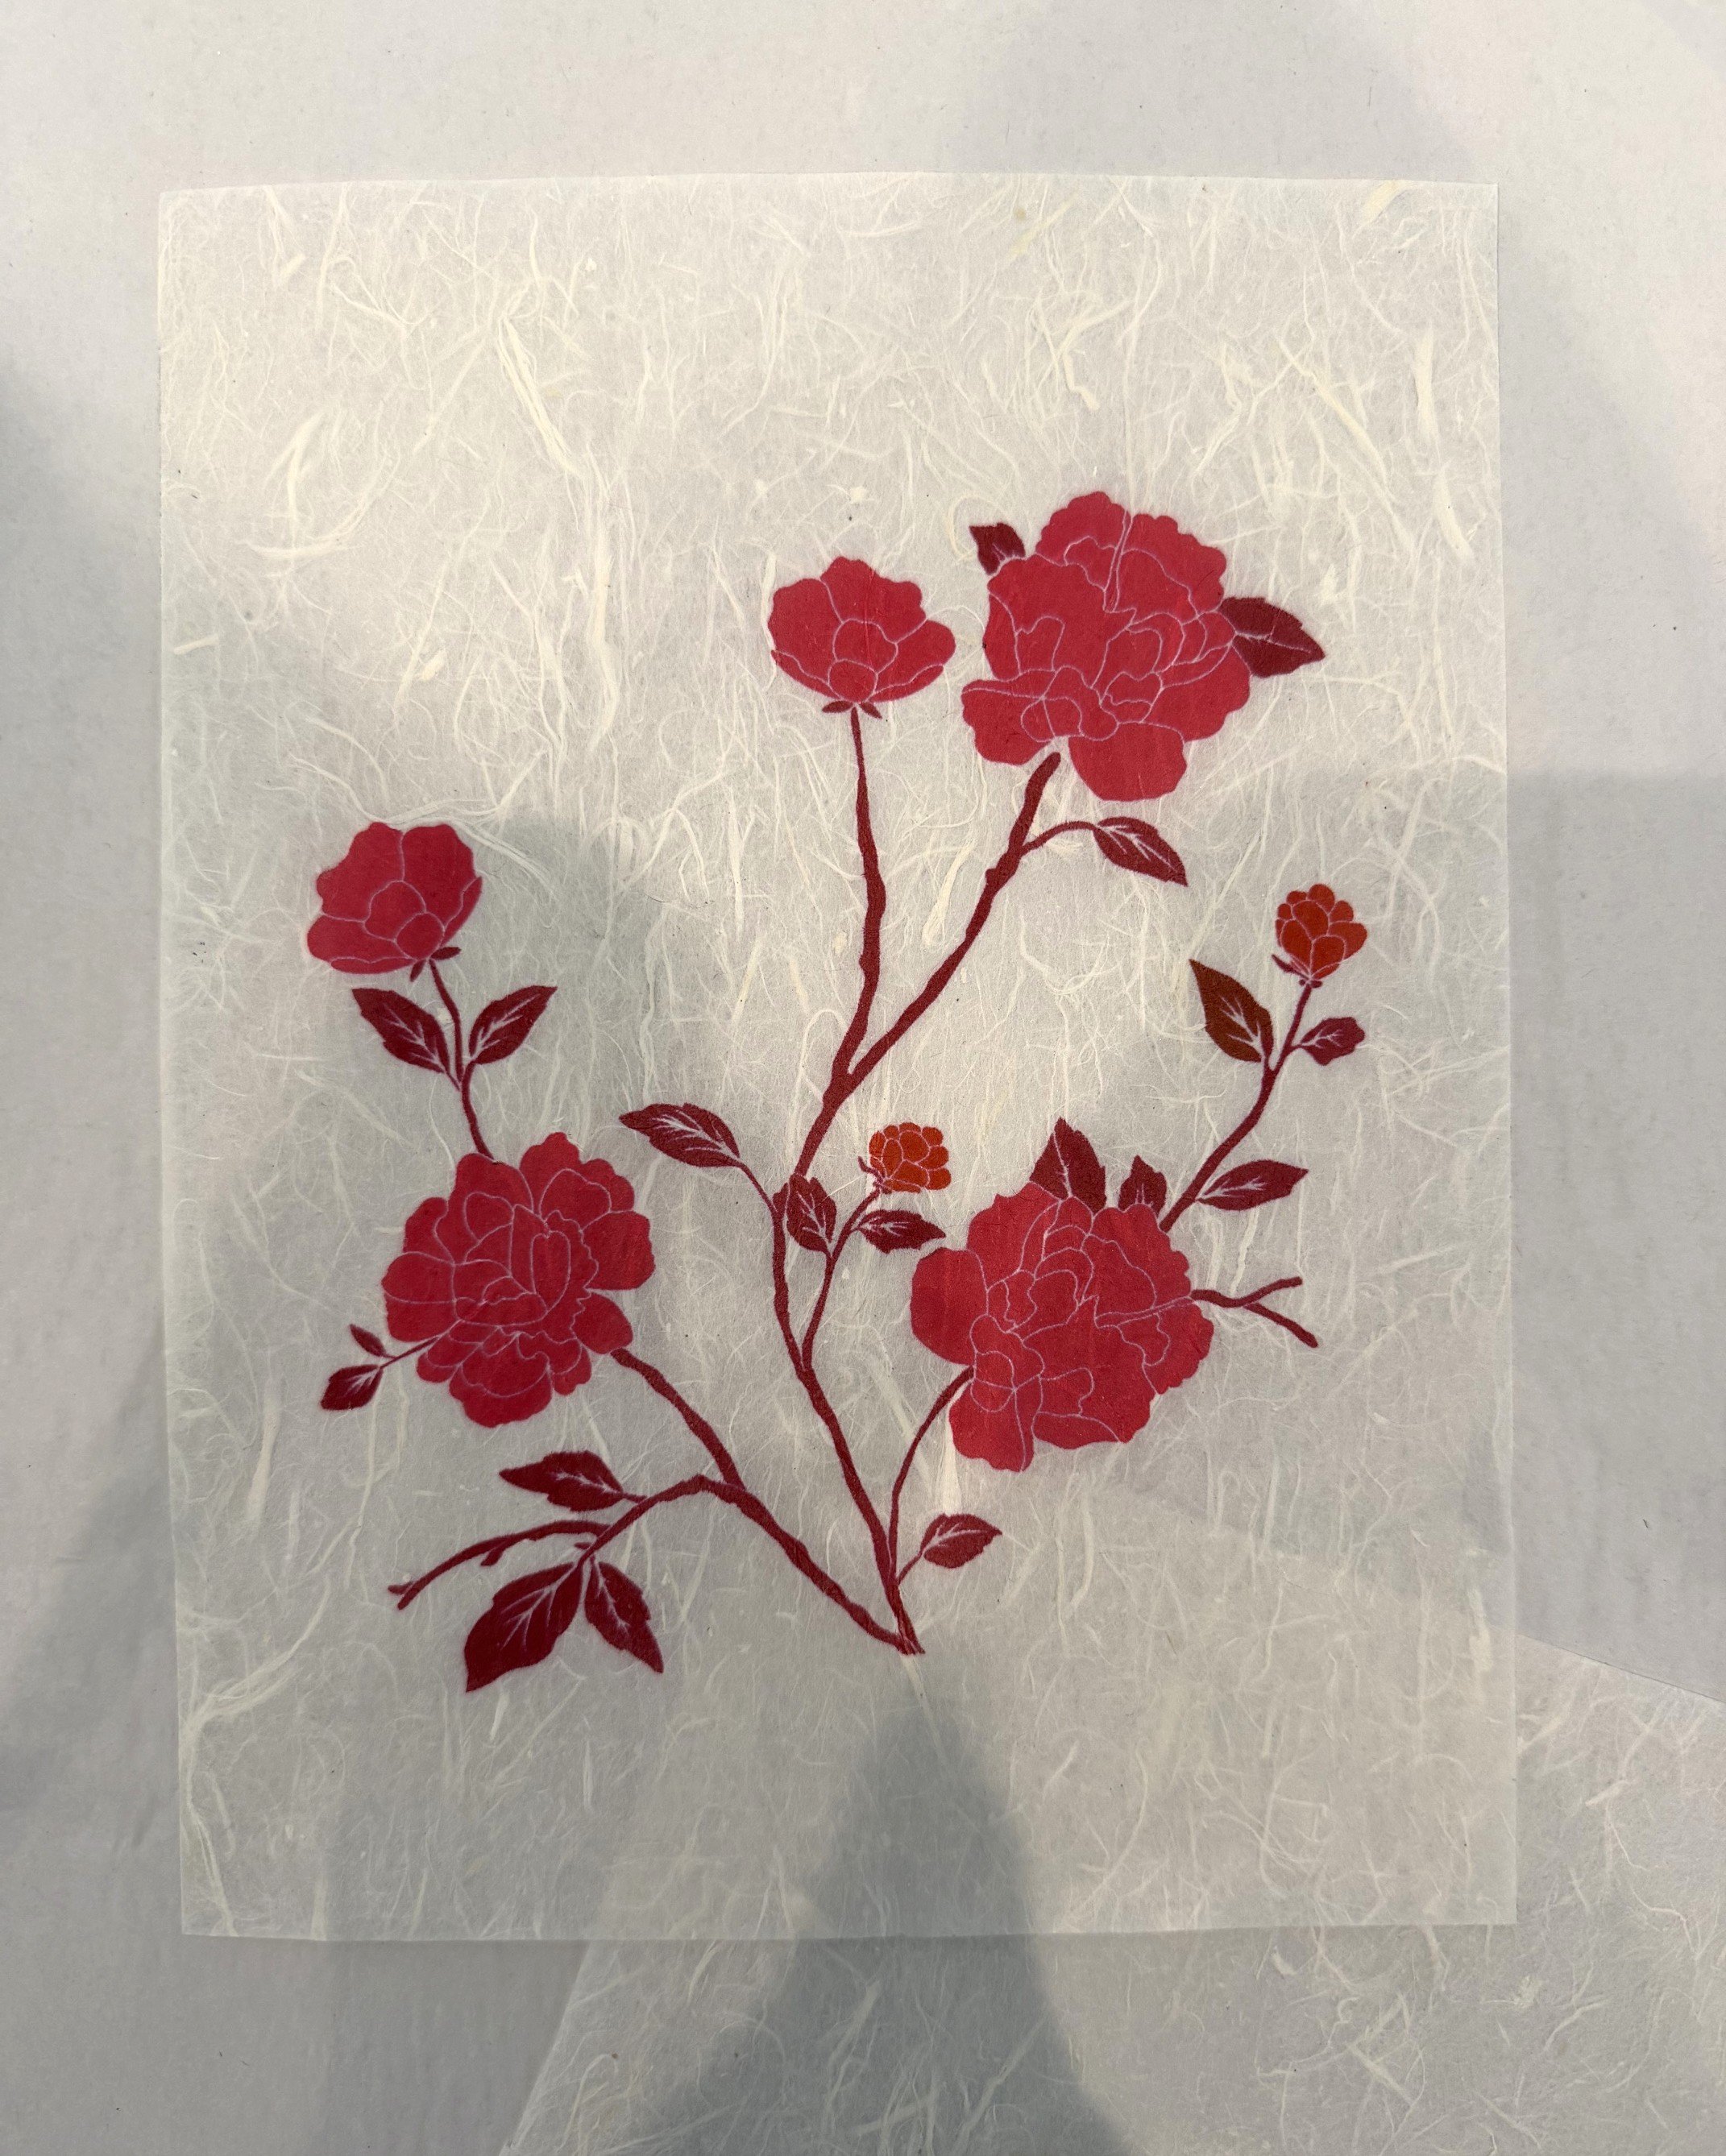
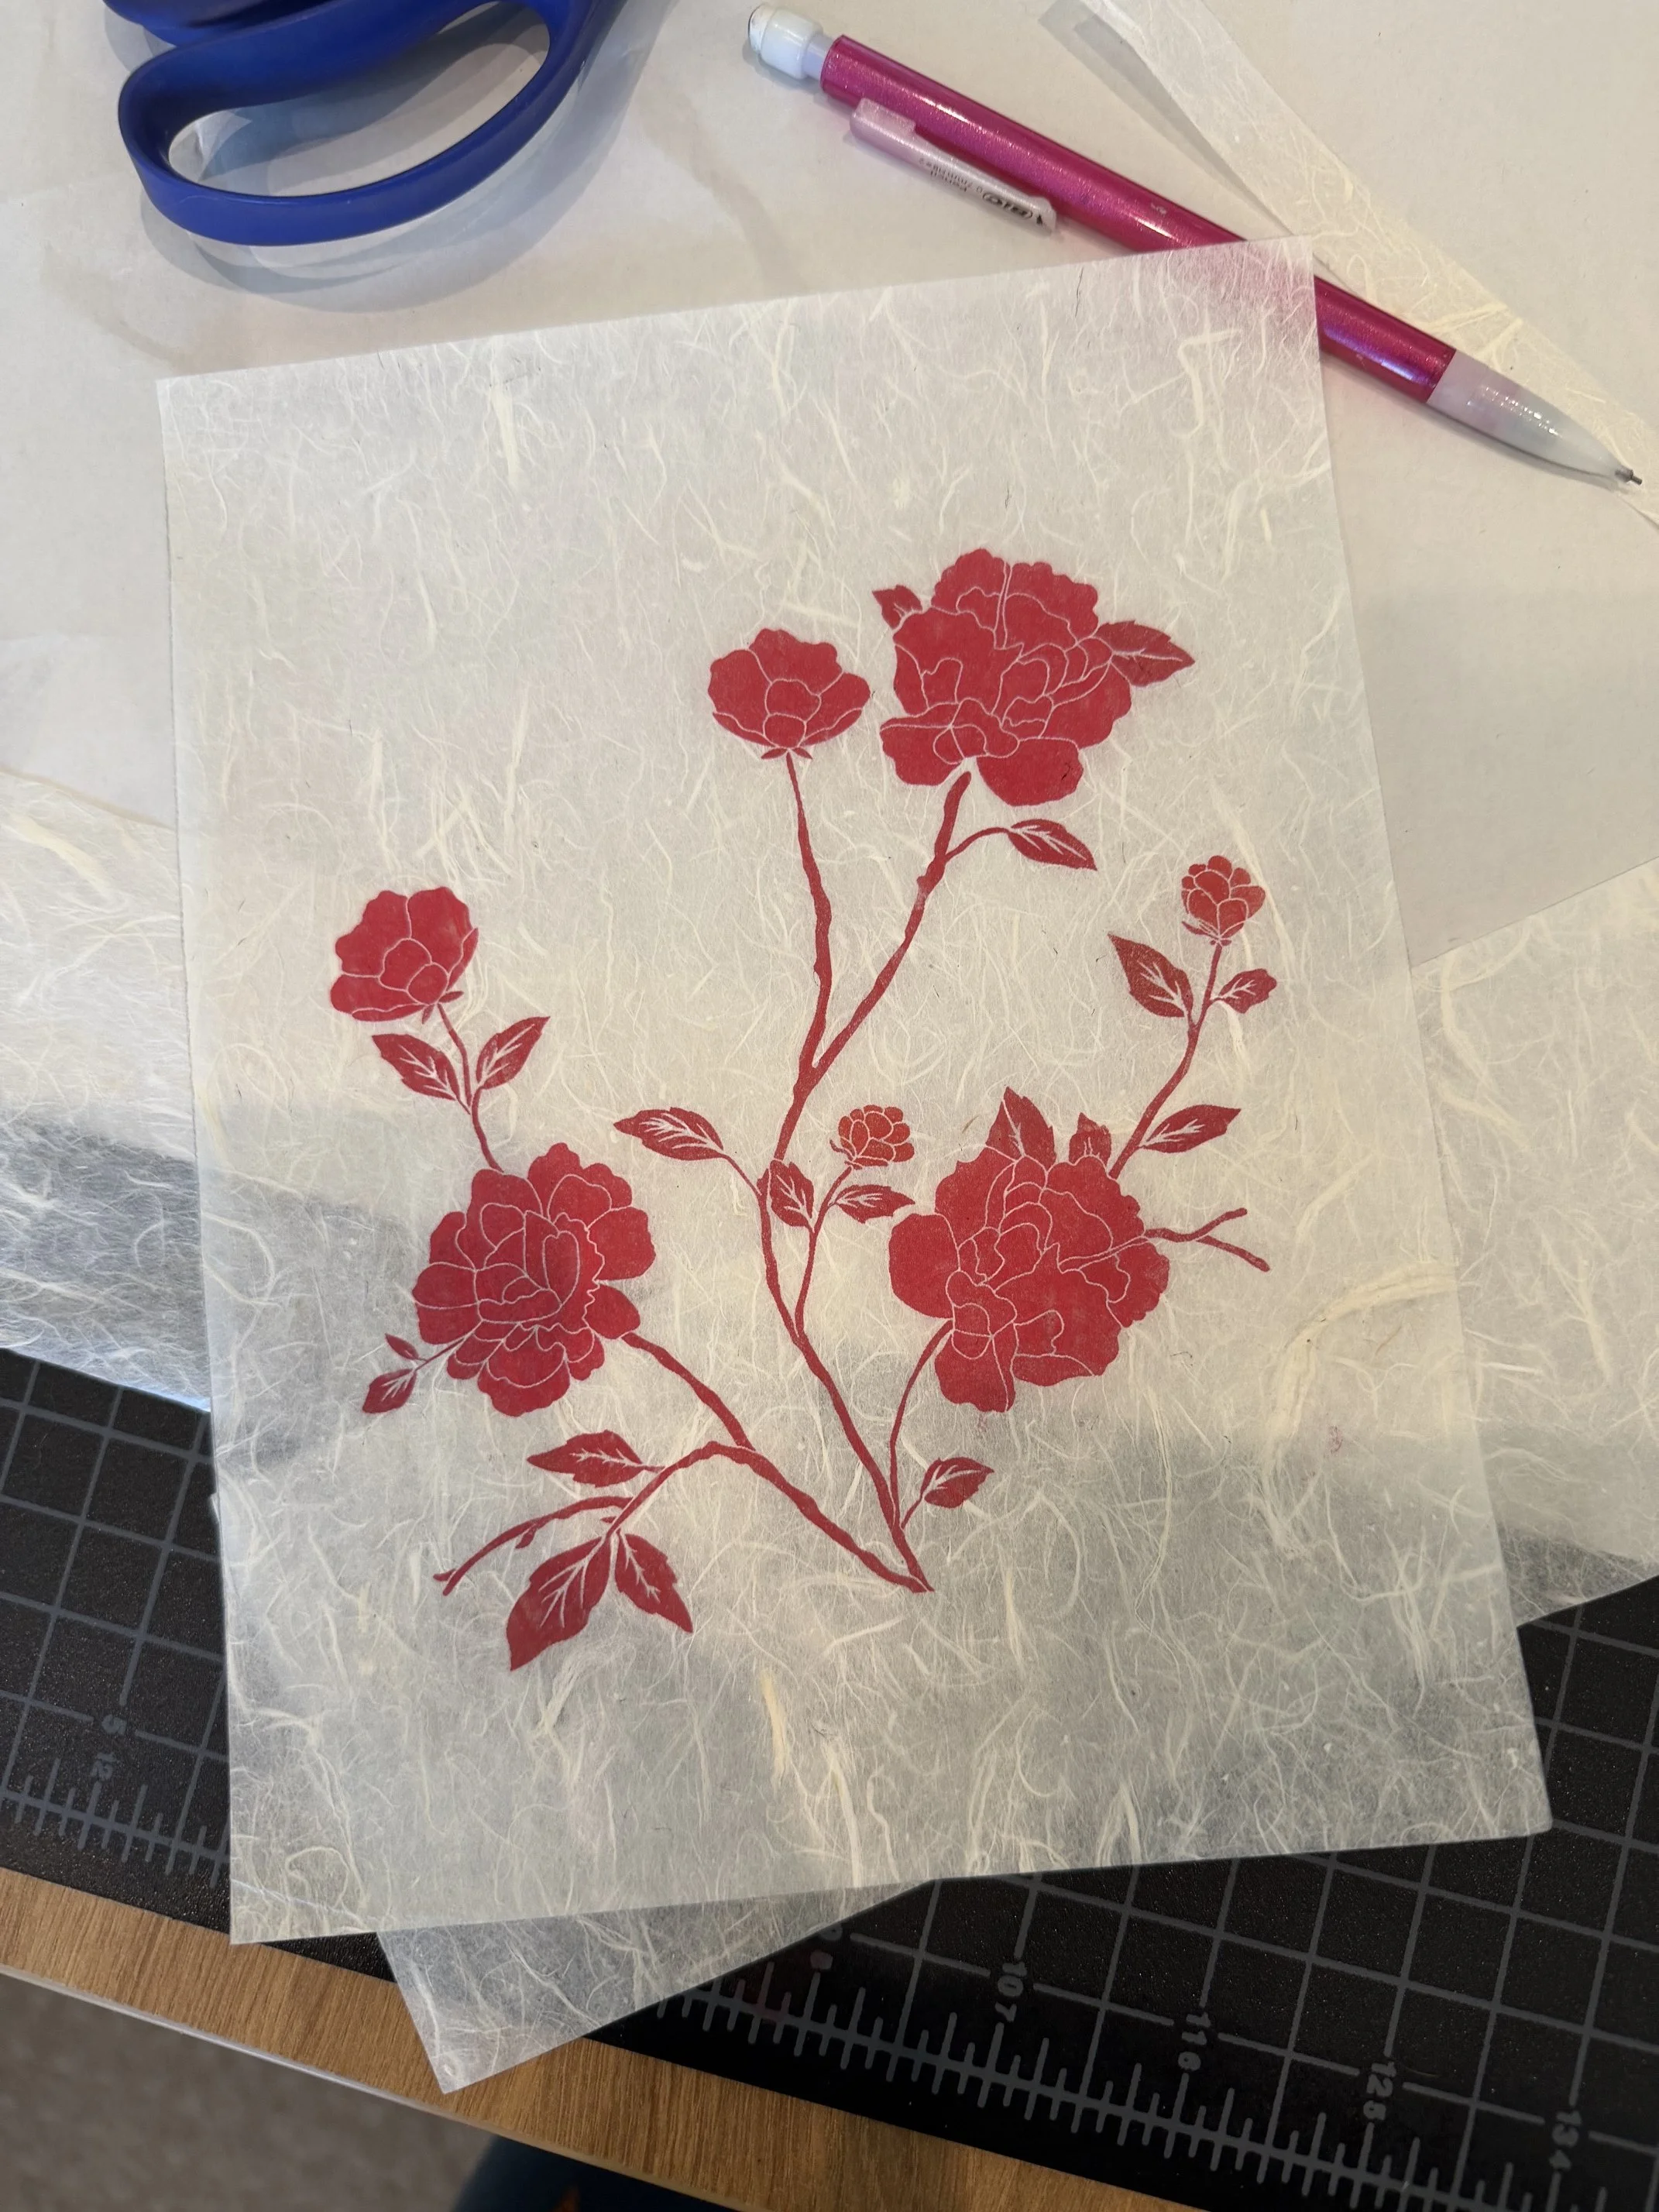
I cut 2 pieces of mulberry paper to run through the laser printer. The first was a thicker cream color paper and the 2nd was the same thin white paper I had used on my previous attempts. When I ran the cream colored paper through the printer, the flowers printed quite dark. I’m not sure if that was because of the paper color or because I had switched a setting in Color Mgmt in Photoshop for that print. I reset the setting back to what I had previously used when I printed again on the white paper and the flowers were bright again. So until I decide to print again on the cream paper, I won’t know for sure what caused the darkened flowers. I was more concerned with getting the glue issue figured out so I didn’t worry about it at the time.

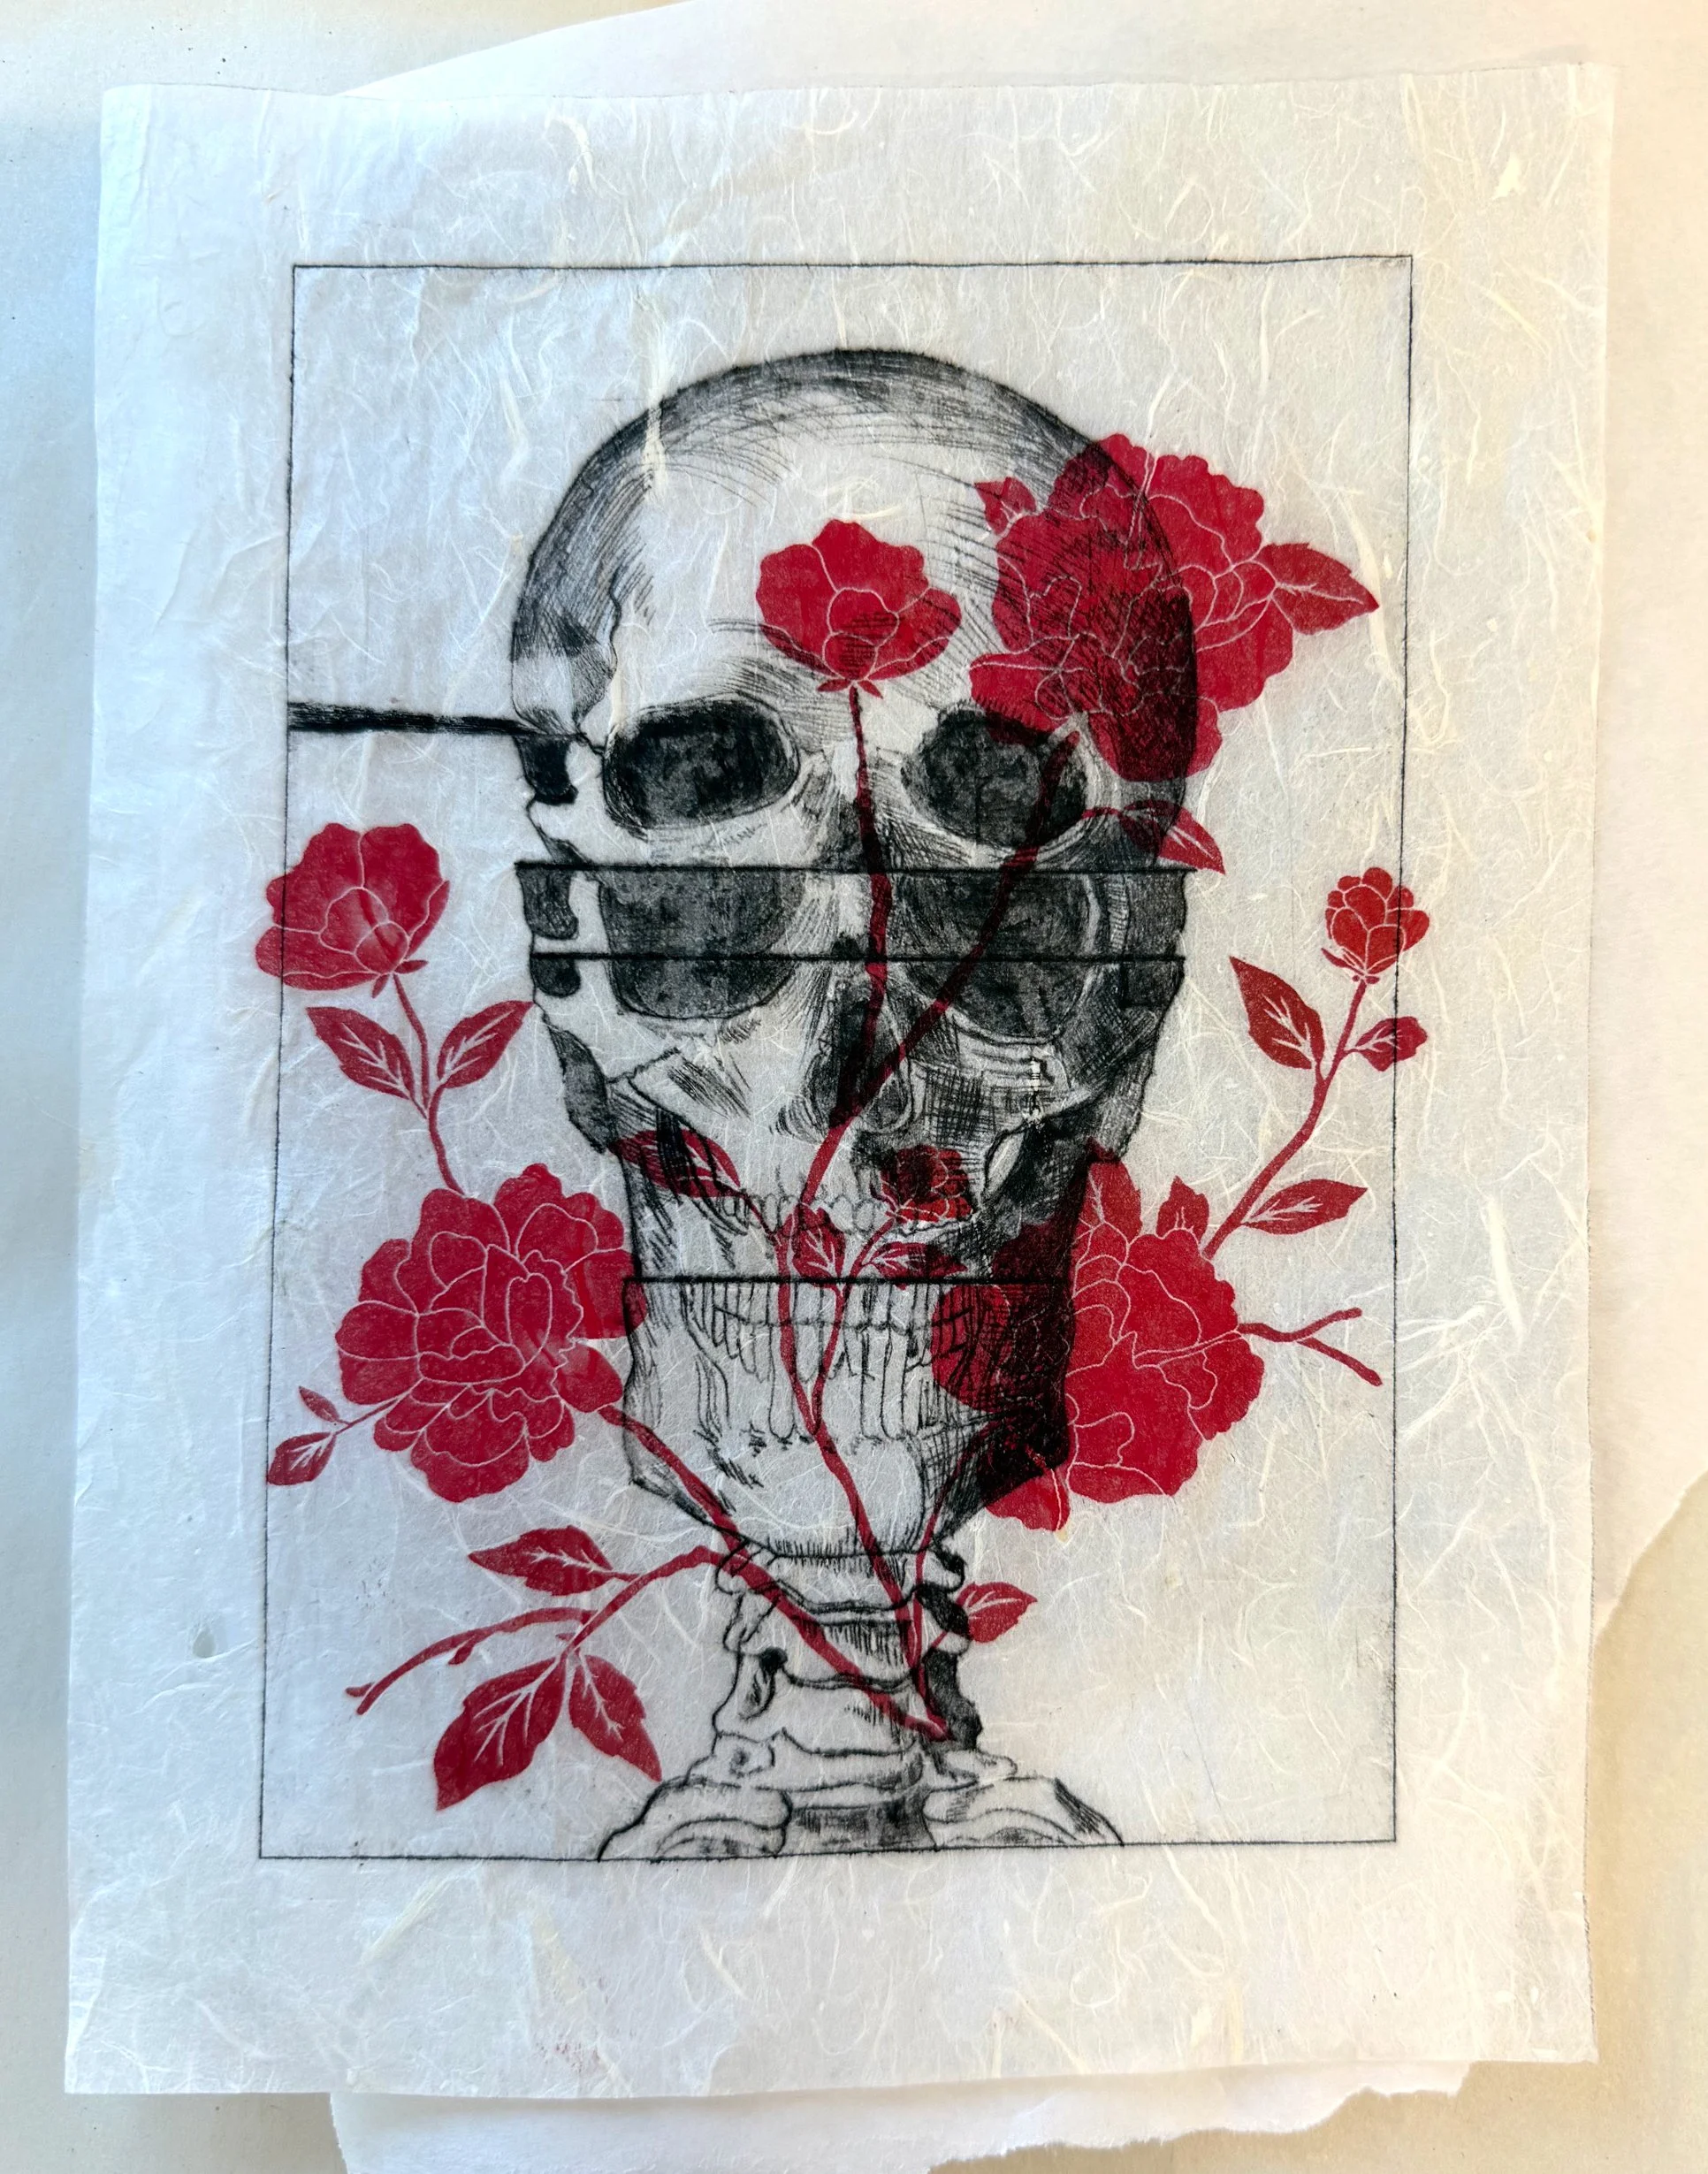
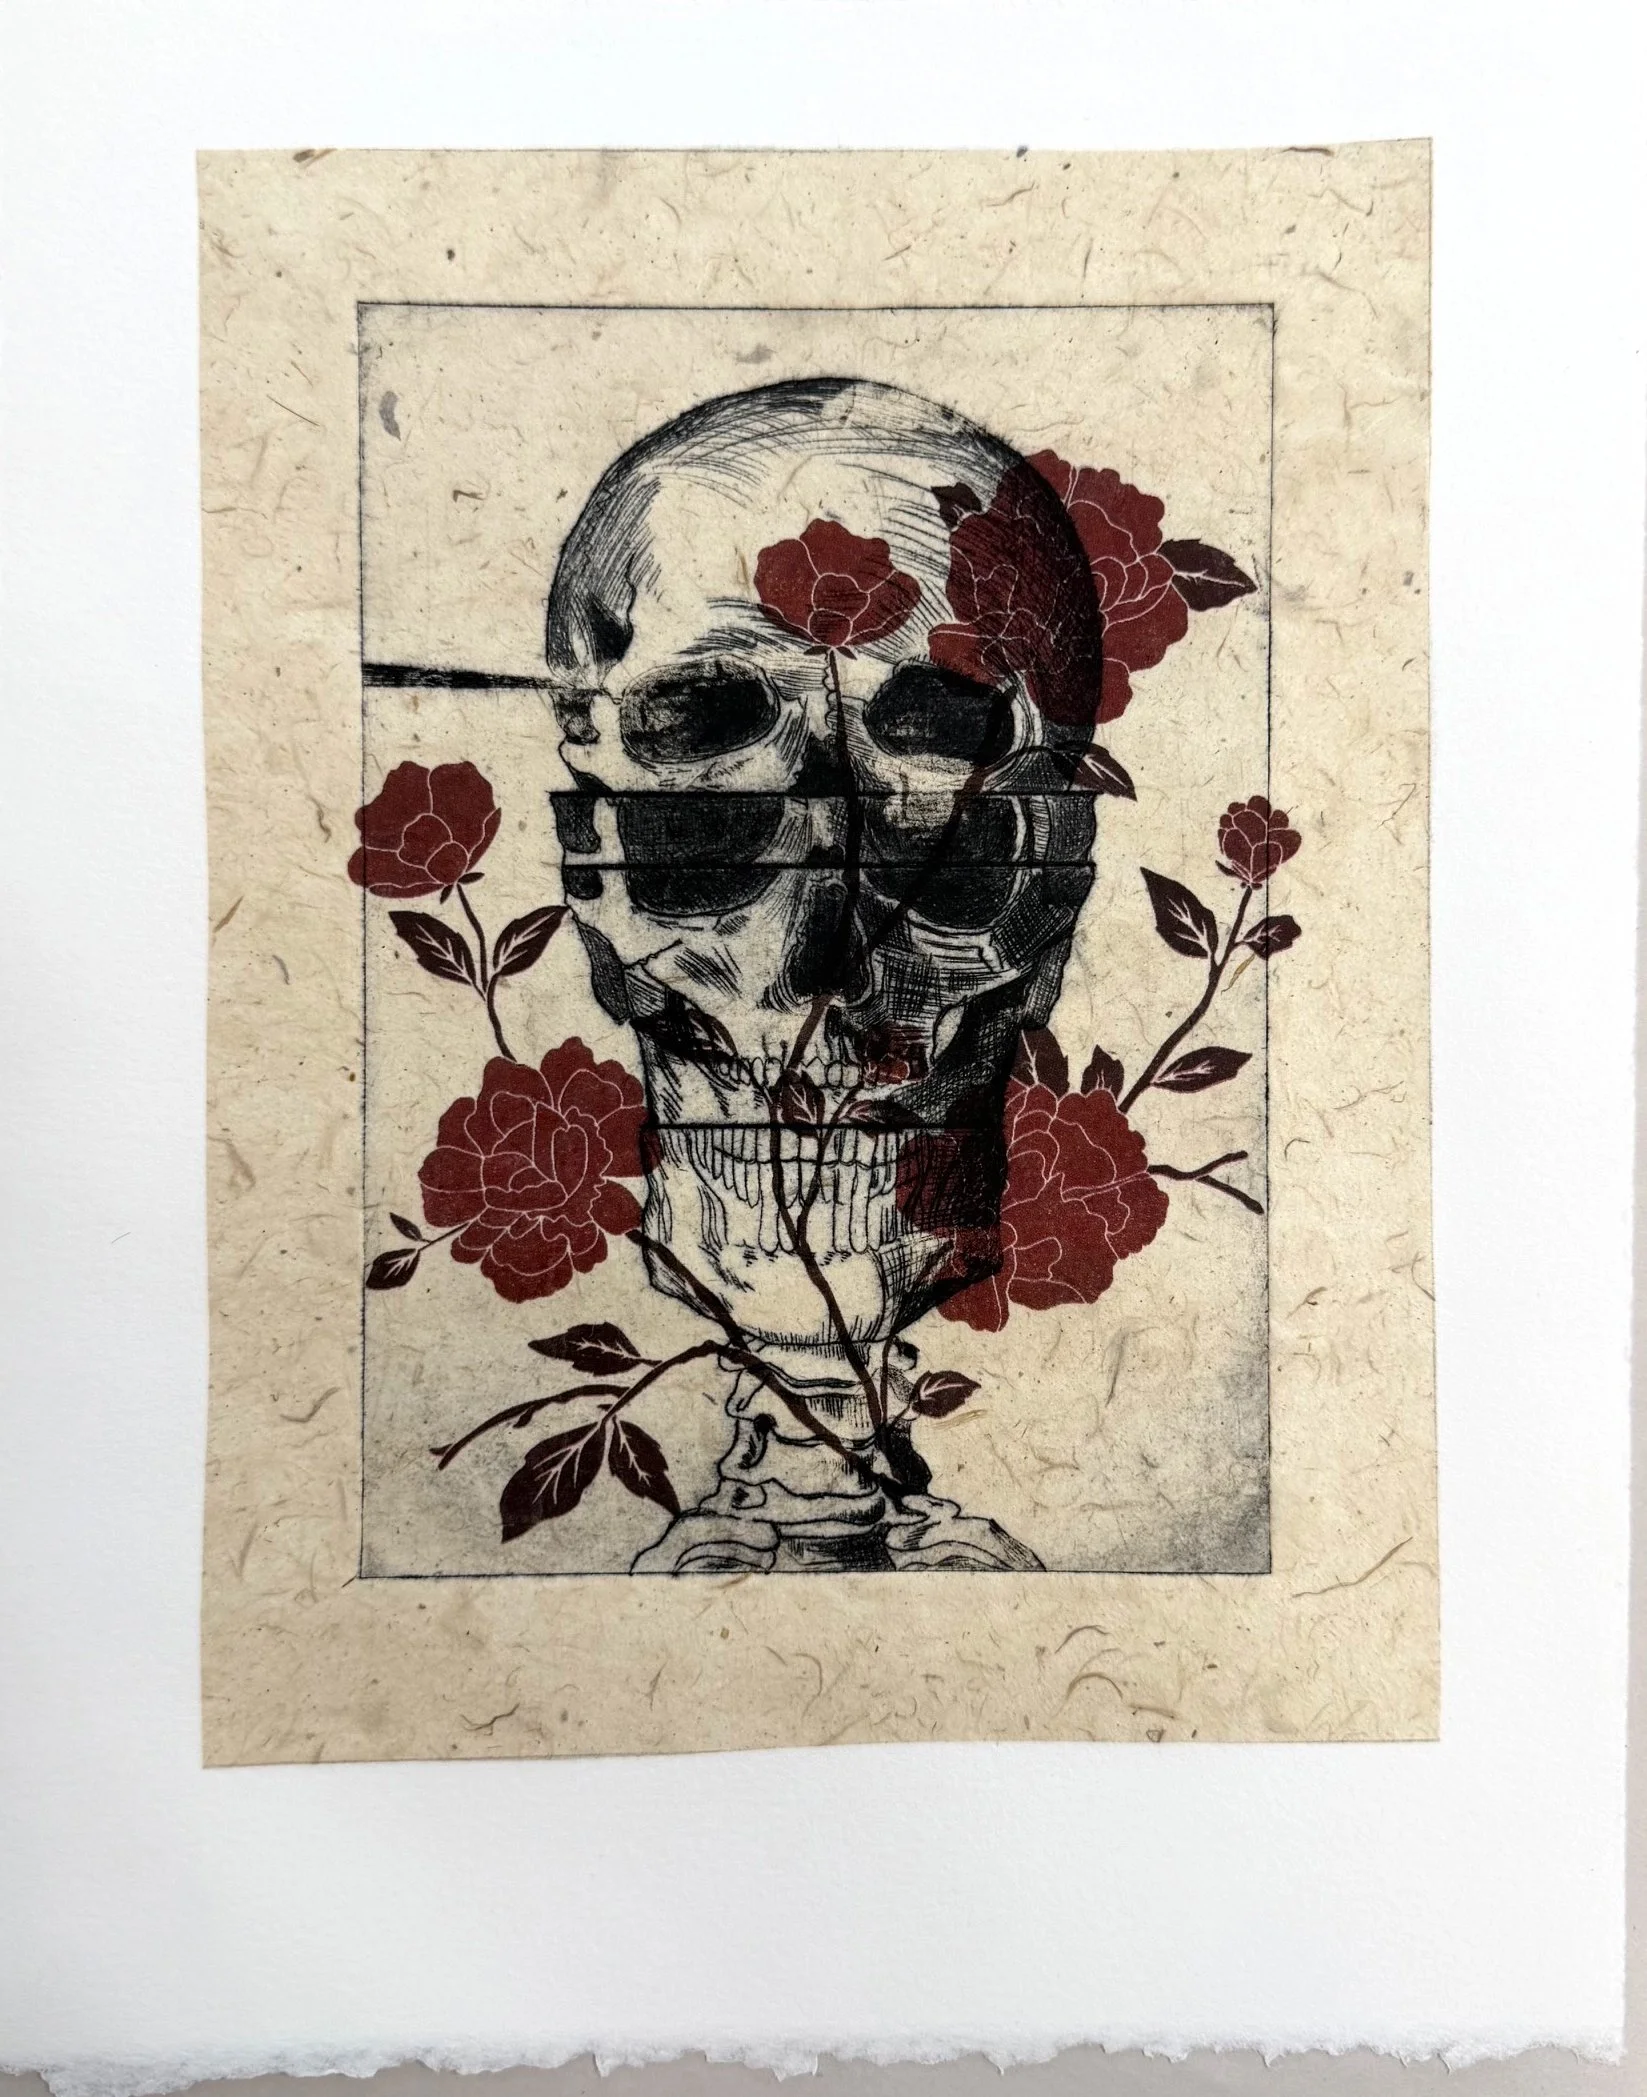
I got everything ready for printing and started with the cream color paper for the chine collé. I inked the plate, pulled the printmaking paper from water and had it ready between 2 towels, and then applied the wheat paste across back of mulberry paper. And here are the changes I made - I used a small plastic squeegee to lightly spread the glue evenly over the paper. And then I put a piece of plexi on top of the plate and papers on the press (and under the blankets) and ran it all through the press. Behold:

It worked perfectly!! Nick’s advice to spread the glue and use a piece of plexi on the press was the key! I was so happy that I immediatly got to work on the second print with the white mulberry paper. And I did everything the exact same way. Did it work?

It did not.

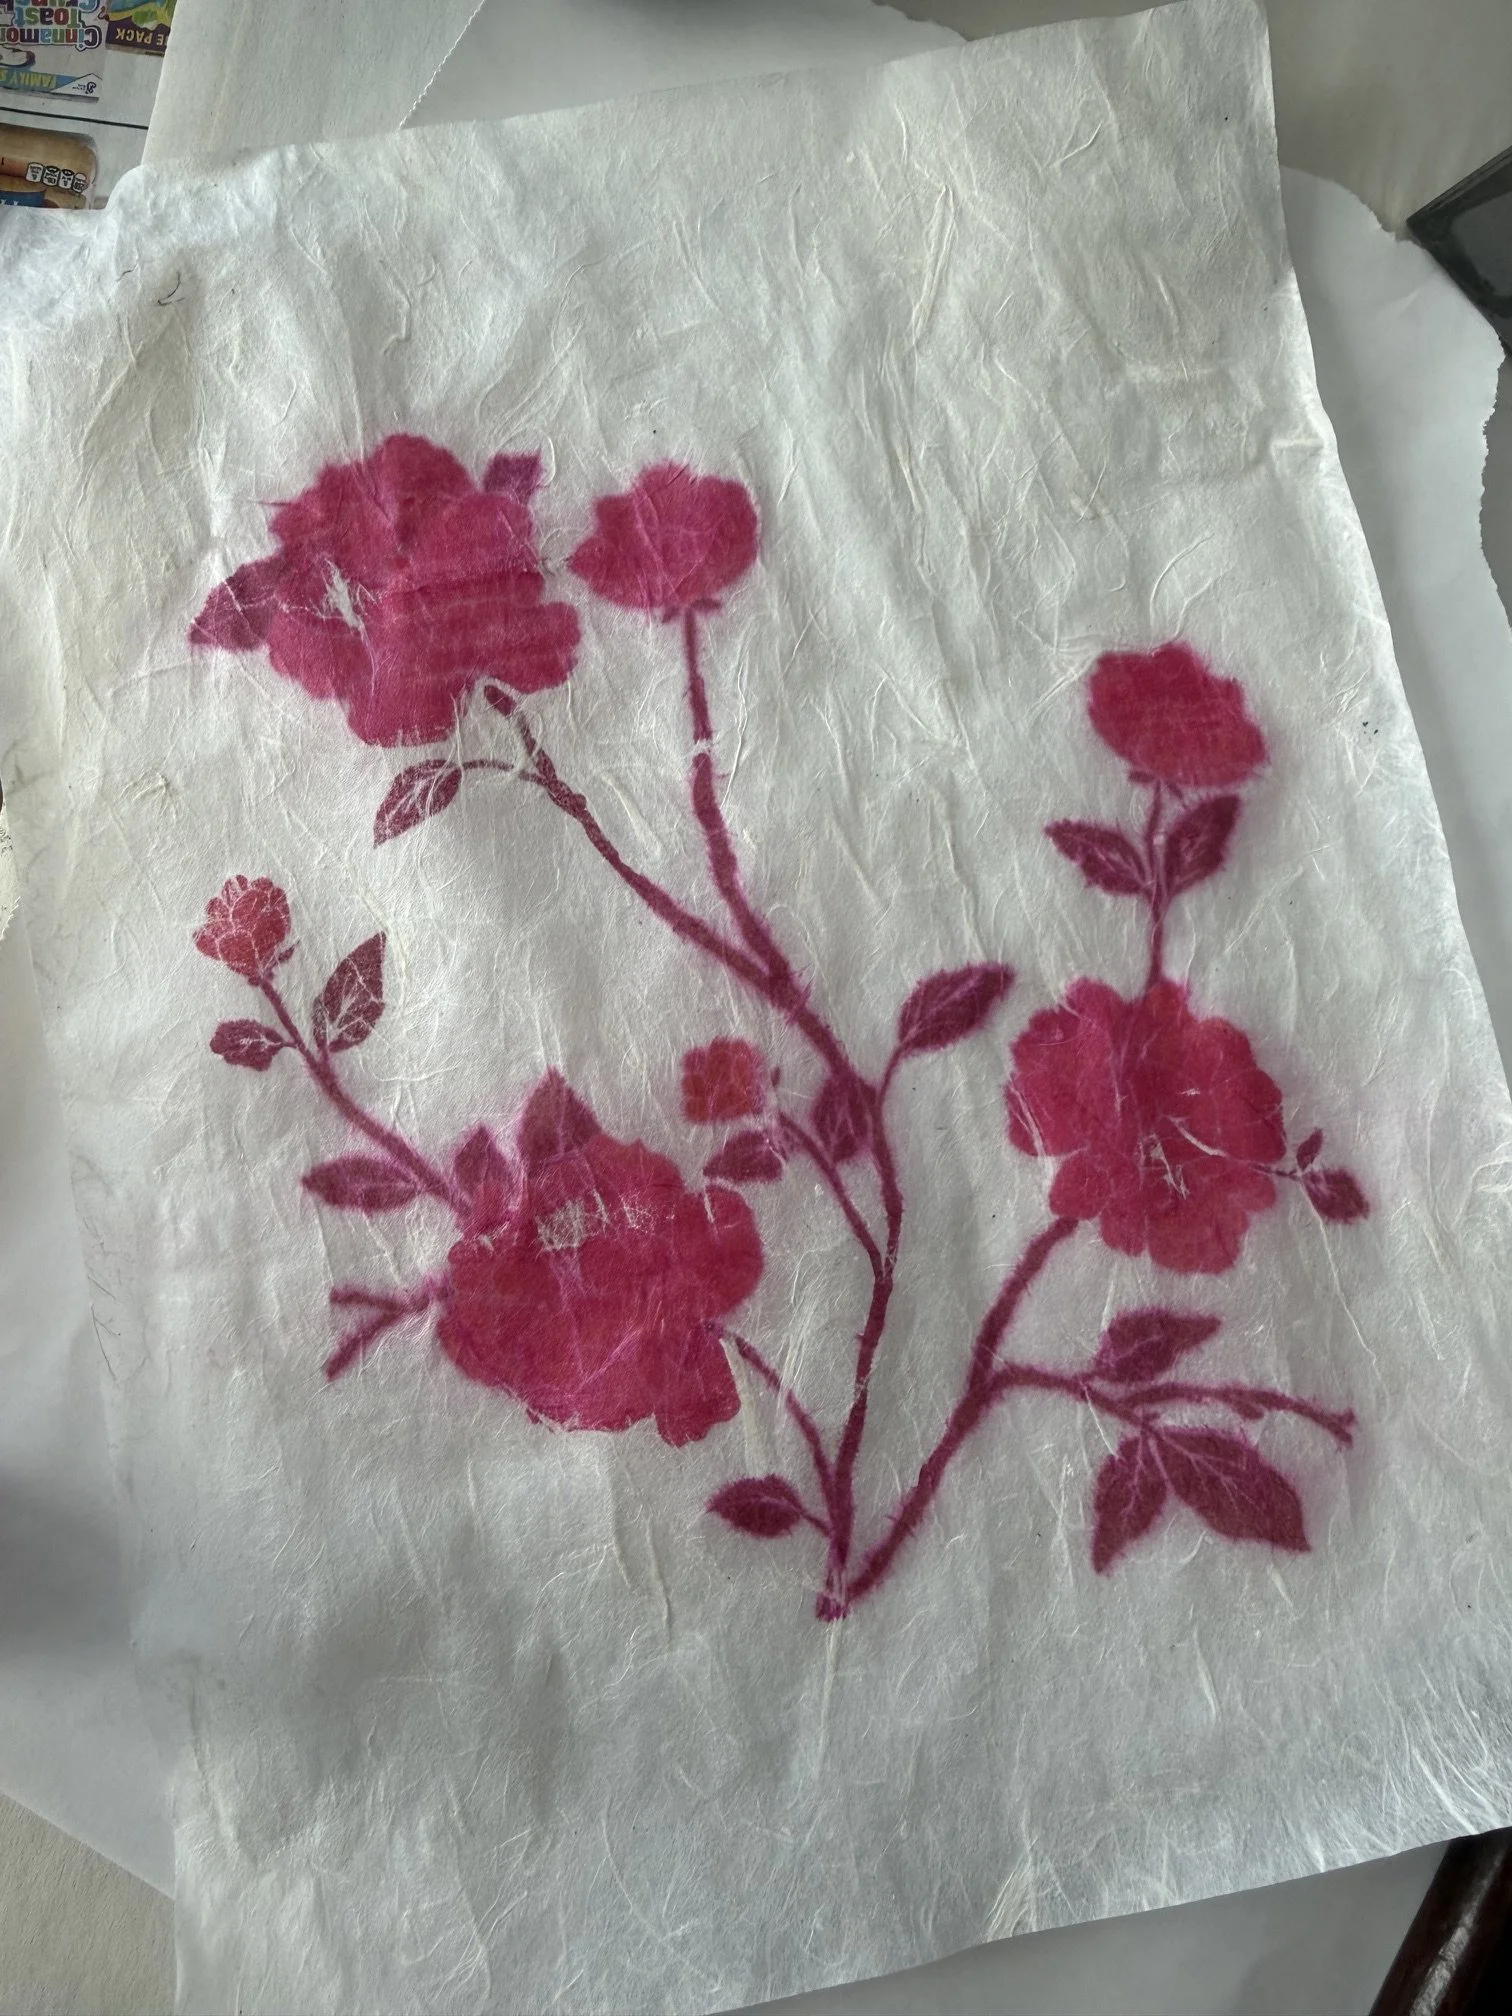
Here you see a beautifully printed image on a piece mulberry paper that did not stick to the printmaking paper at all. At first I was confused* - why didn’t it work? I did everything exactly the same as the first print. This makes no sense! But then it did make sense. This paper is so much thinner than the cream paper. When I spread the glue across the back, it basically soaked through the paper completely and I had a hard time lifting it and placing it on the plate on the press bed. And this is were the real issue is - the mulberry paper is larger that the actual drypoint plate (because that is how the flowers fit the image and I like that they break that plane) so that wet gluey paper had a 1 inch border around the plate that was laying directly on the press bed. And that is where is stayed even though that nice damp printmaking paper was on top of it saying please stick with me! okay, that got weird. But there it is, the thin mulberry paper stuck to the press because the glue had totally soaked through to the front unlike the thicker cream paper. Mystery solved. Going forward, thin papers for chine collé need to be equal to or less than the size of the plate.

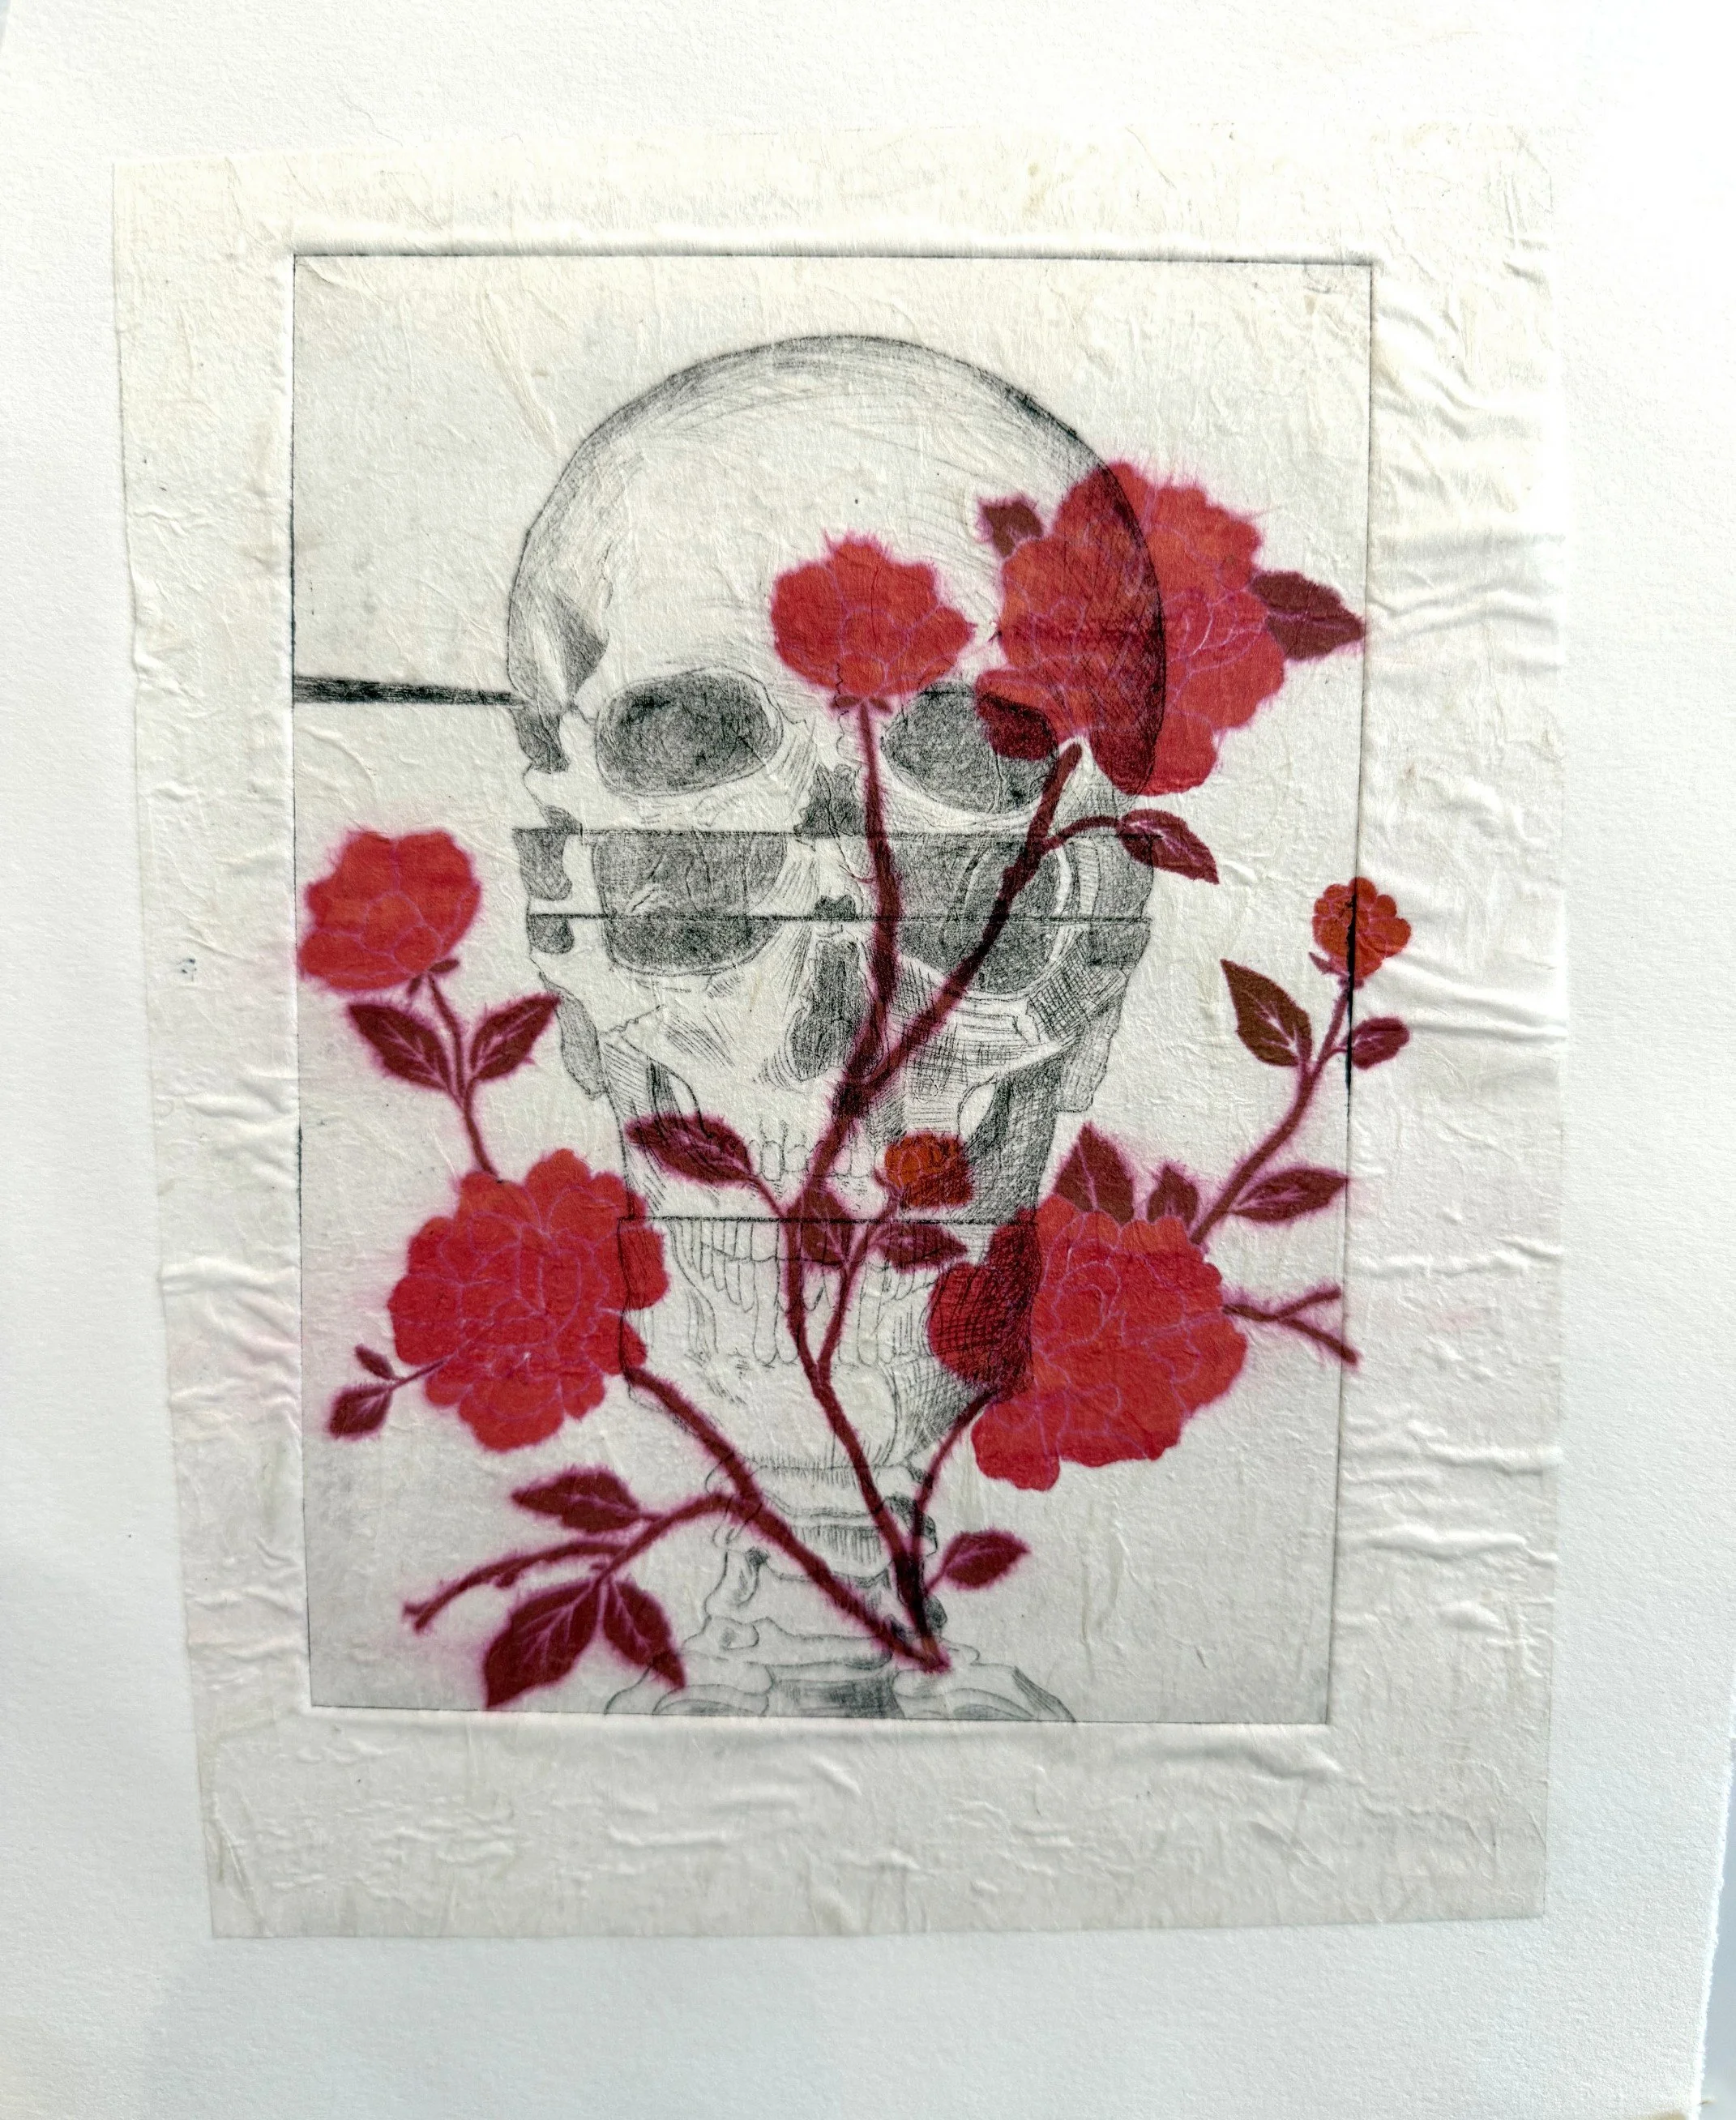
Now, I could just re-glue the mulberry paper to the printmaking paper, but look at what printed through the mulberry paper!

Yeah, I’m not covering that up!

I’ve got some good prints and learned a lot along the way - perfect 2 part episode ending. Stay tuned for Adventures in Screenprinting.

* I heard it too


Adventures in Printmaking

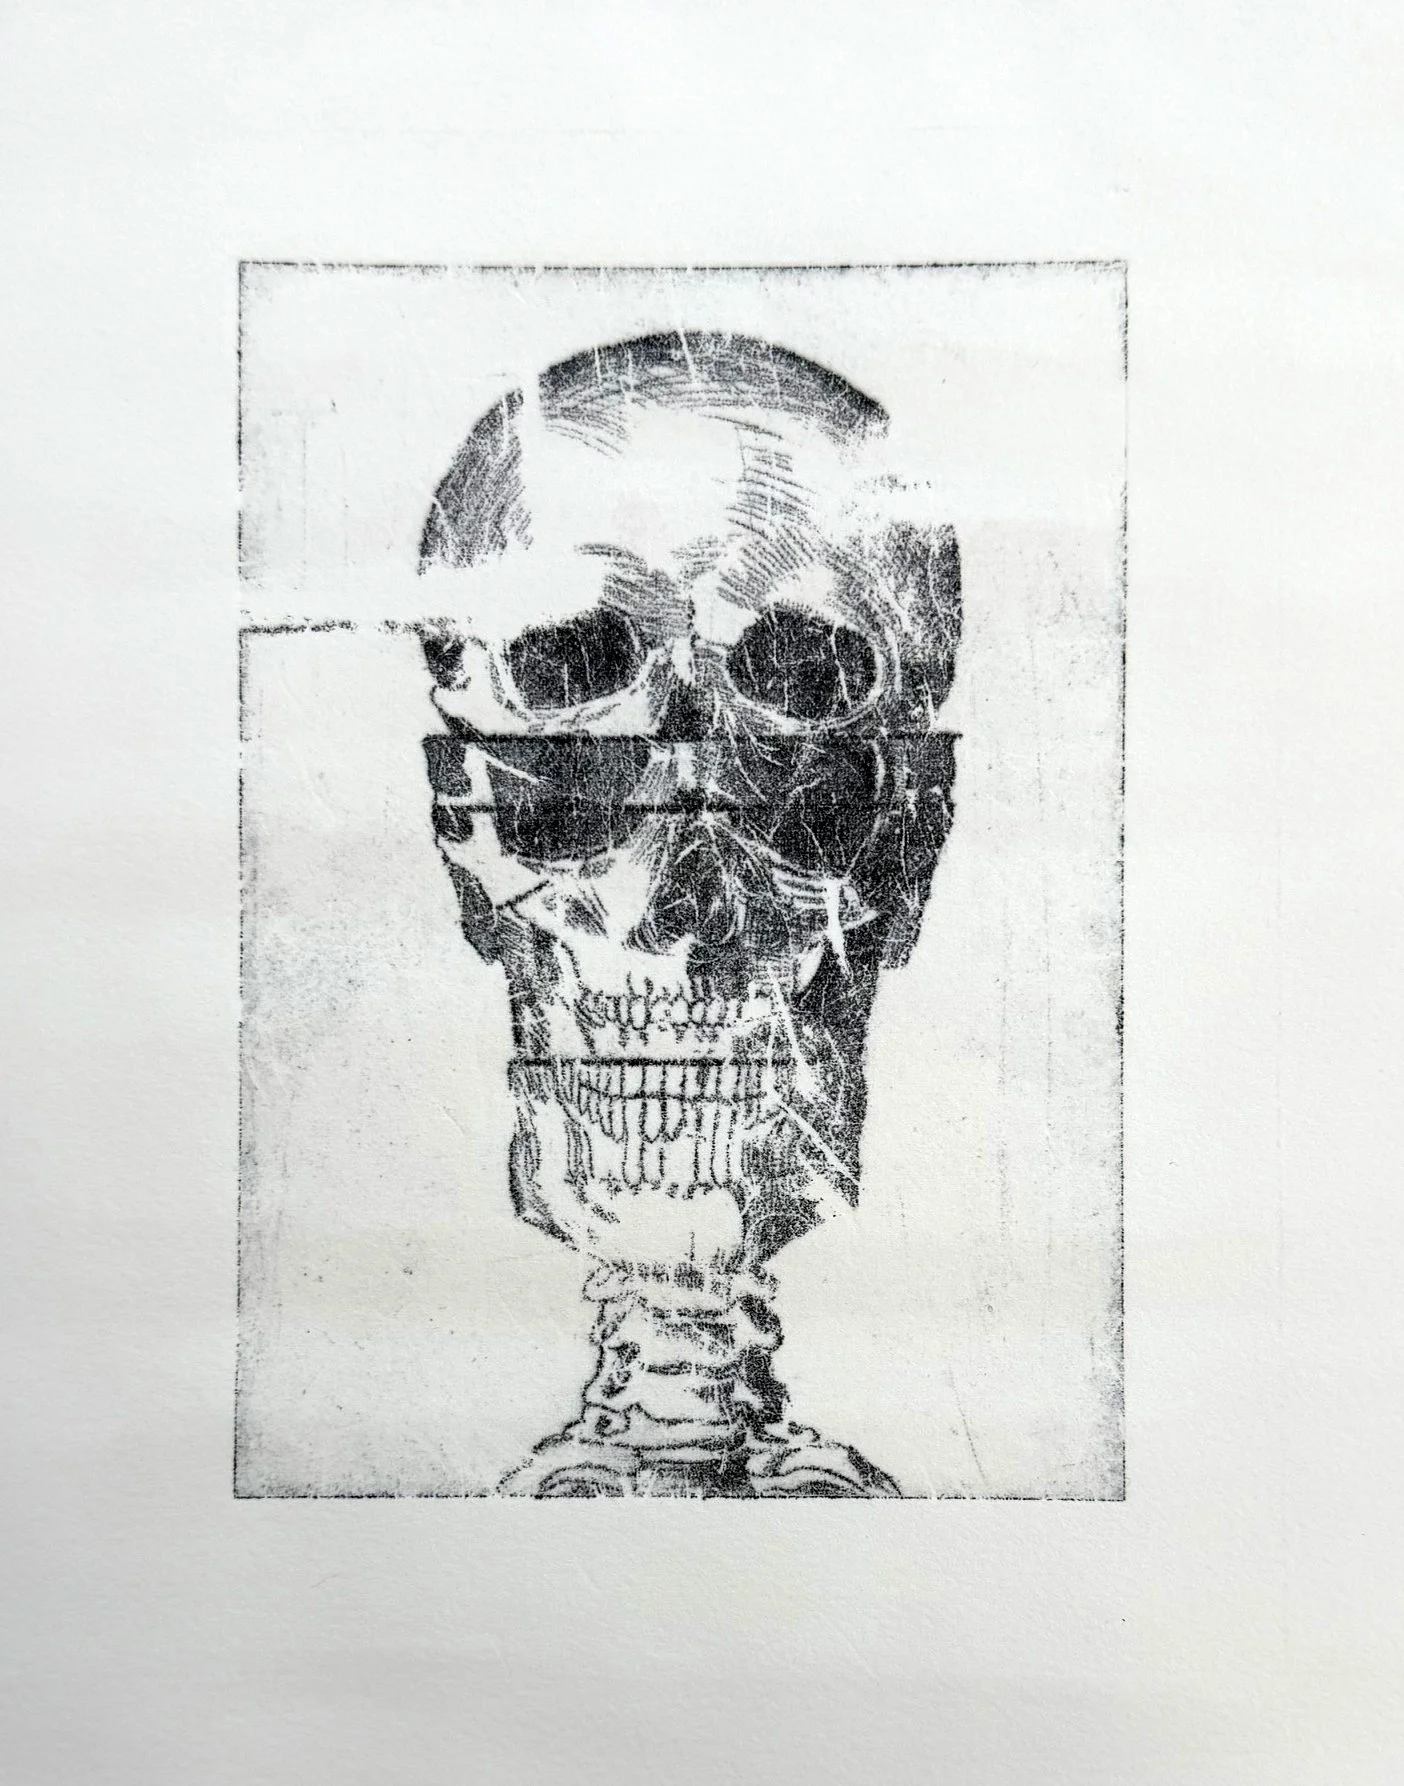
The Chine Collé Woes™ continue. My goal is to add some flowers to my skull drypoint print. I decided to try making my own paper to use for chine collé. For my first attempt last week, I drew the flowers on some Sumi-e paper with colored pencils. I printed that one in class with Nori paste and it came out okay-ish. Some of the flowers didn’t really print well and the Nori paste needed to be diluted a bit, it was a bit lumpy which you can see in the print. I do like the way the black ink bled a bit into the paper.


Yesterday I decided to print the flowers on some mulberry paper I found in my stash. I cut 2 pieces and printed one on my Canon inkjet printer and the other on my laser printer. I started with the inkjet printed piece. I mixed up some wheat paste and coated the back of the mulberry paper. Immediately I could see the inks starting to bleed a bit. I let the glue dry while I soaked some printmaking paper and inked the plate. Oof, that print did not turn out well. There were several problems in addition to the flowers bleeding, the print is very light and there are a lot ripples in the mulberry paper. I guess there wasn’t enough pressure on the press.

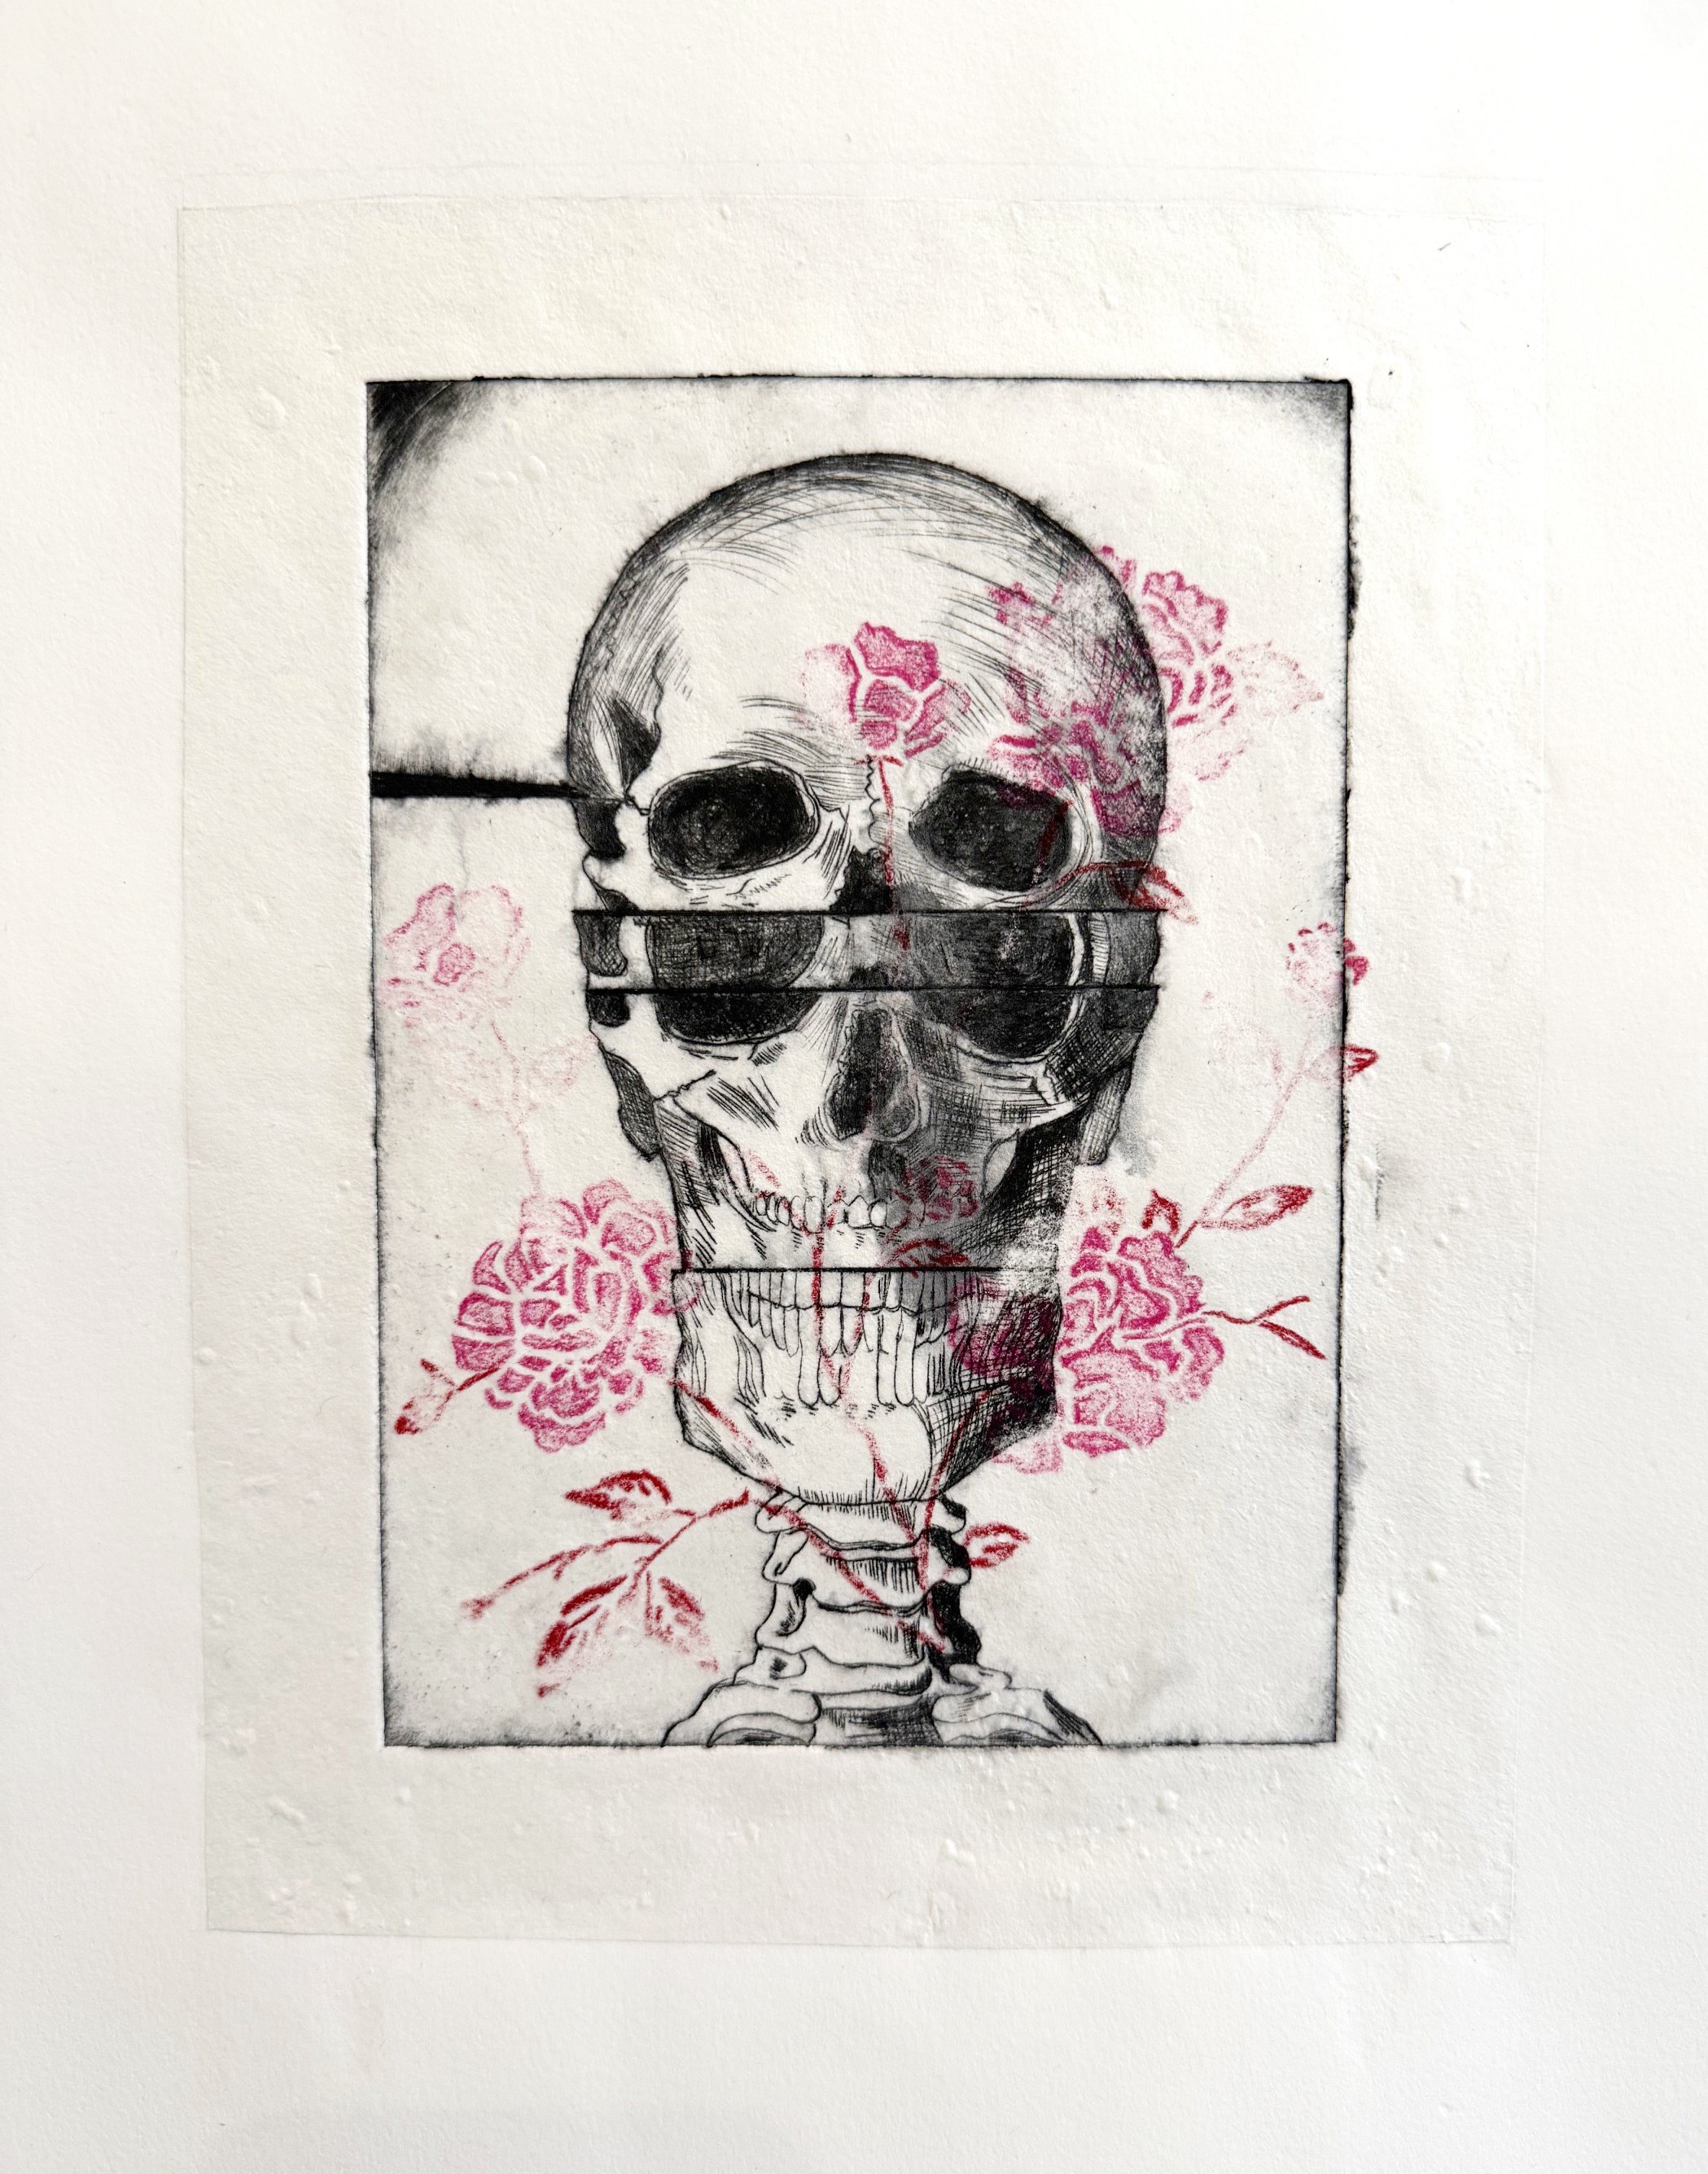
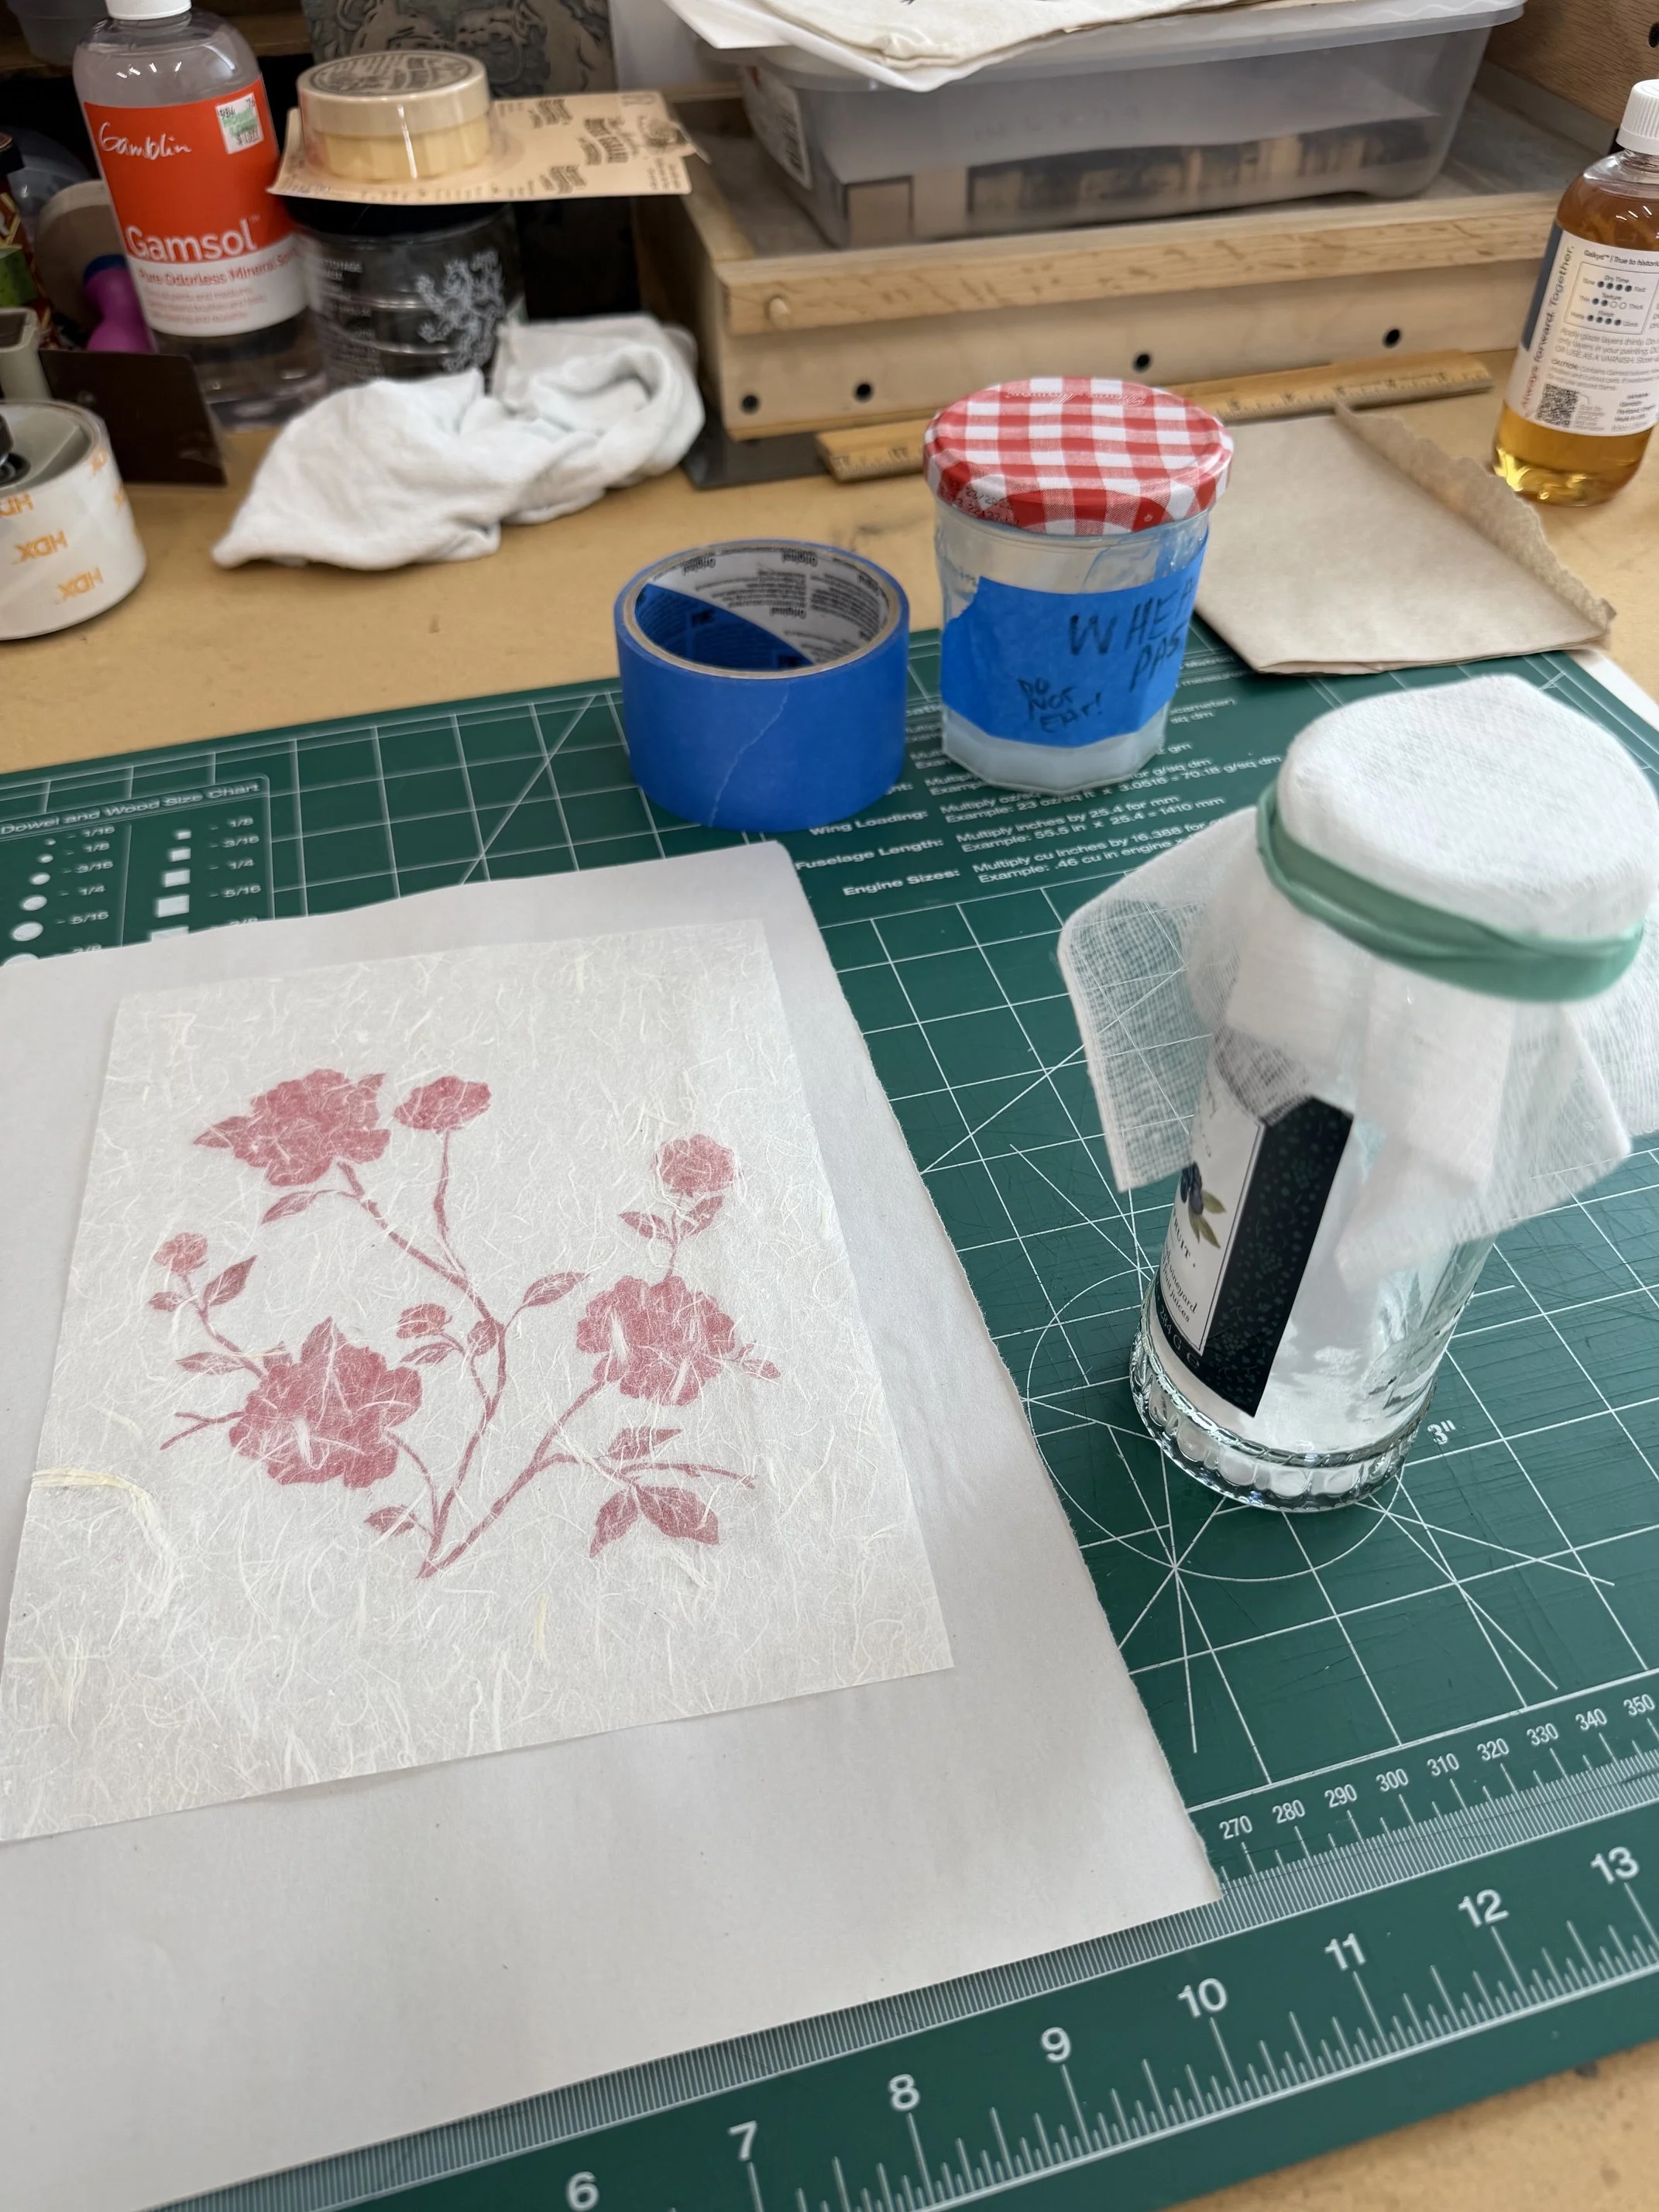
I tried using the dry wheat paste method on the next print using the laser printed mulberry paper. I used a folded square of new tarlatan and a jar to make a shaker. After inking the plate, I placed the mulberry paper face-down on the plate and sprinked the wheat starch on the back of paper. I then sprayed a light mist of water over it before laying the damp Rives paper on top and running it all through the press. When I started to pull the print, it was obvious the mulberry paper had not adhered to the printmaking paper at all. I cranked down the pressure a bit more and ran it all through the press a couple more times. The resulting print is not bad. The flowers remained crisp, but the print itself isn’t black enough. And it did not stick to the paper at all!

So, does it need more starch? Do I need to dampen the mulberry paper before I shake the starch on to it? Will the laser printed flowers bleed if I dampen the paper?

All these questions and more will be answered in the next episode of “As The Press Wheel Turns”